
Radon can enter your home without warning because this naturally occurring radioactive gas has no color, smell, or taste. Although homeowners cannot detect it through their senses, long-term exposure to elevated radon levels increases the risk of lung cancer. Therefore, understanding the Radon Mitigation System Cost helps you plan an effective solution and protect your household.
However, installation costs vary from property to property. Your foundation type, radon concentration, home layout, and equipment requirements all influence the final estimate. By understanding these factors, you can compare contractor quotes, avoid unexpected expenses, and choose a system that meets your needs.
What Is a Radon Mitigation System?
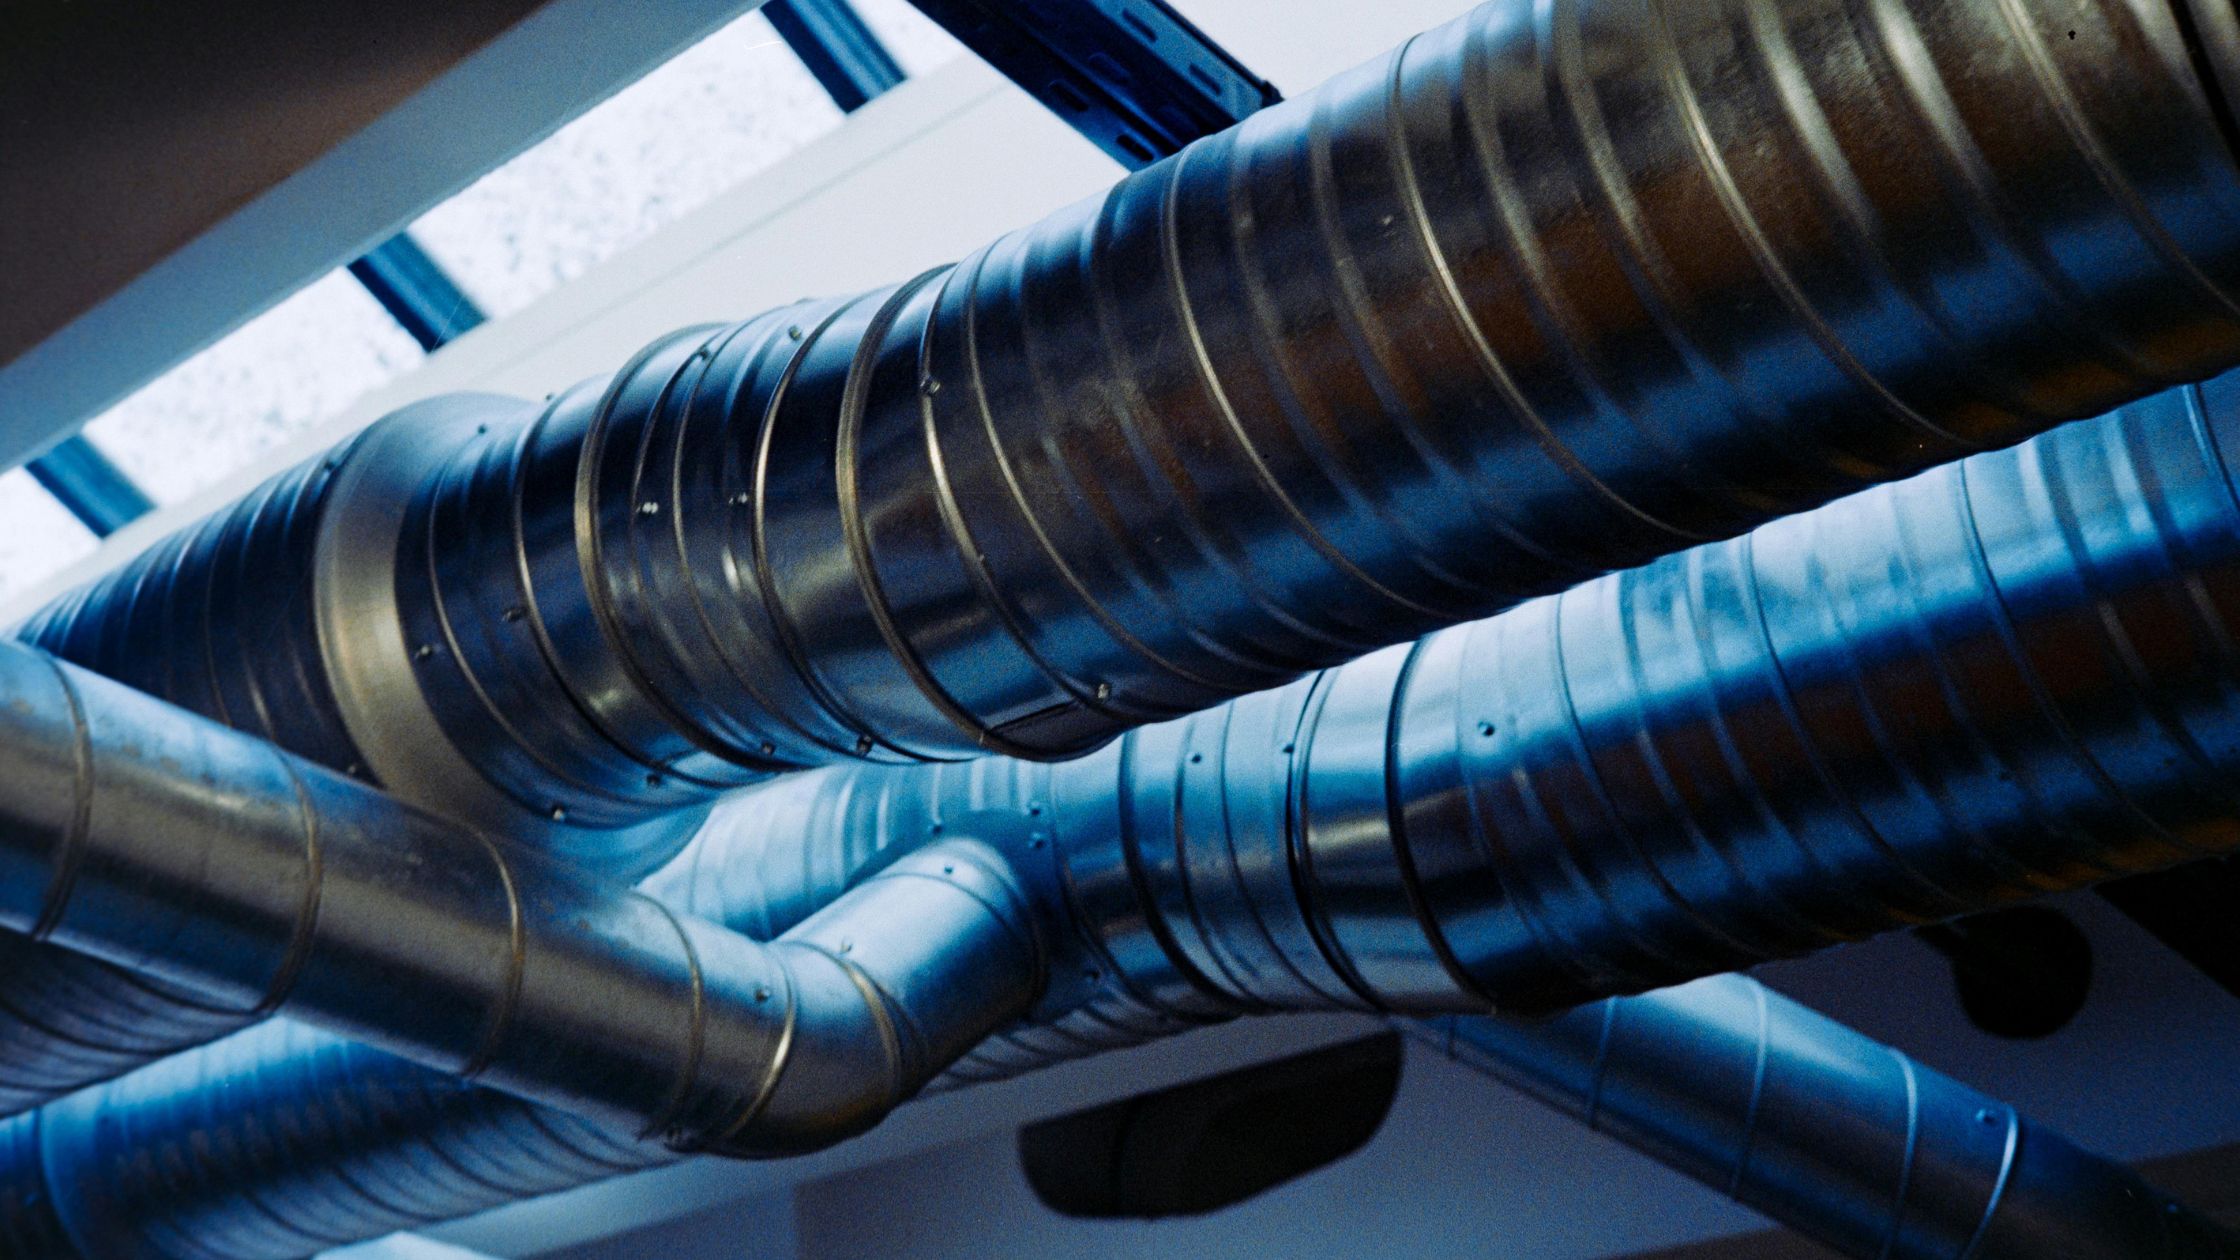
A radon mitigation system reduces indoor radon concentrations by preventing the gas from accumulating inside your home. Most residential systems use specialized piping and a fan to draw radon from beneath the foundation and release it outdoors, away from occupied areas.
Additionally, some properties require crawl space encapsulation, improved ventilation, or water treatment when testing identifies radon in a private well. Professionals select the appropriate approach after evaluating the building and identifying the source of contamination.
The U.S. Environmental Protection Agency recommends taking action when indoor radon levels reach or exceed 4 picocuries per liter (pCi/L). Nevertheless, homeowners can consider reducing lower concentrations because no radon exposure level carries zero risk.
What Is the Average Radon Mitigation System Cost?
A typical residential radon mitigation system costs approximately 800–2,500. However, foundation type, labor rates, equipment requirements, and installation complexity can increase the final price.
- Standard residential systems typically cost between $800 and $2,500.
- Complex installations may require additional equipment and labor.
- Foundation design significantly influences overall installation expenses.
- Local labor rates can affect the final price.
- Additional suction points may increase equipment and installation costs.
- Request a property-specific estimate before making financial decisions.
Understanding radon mitigation expenses helps you budget effectively. Compare contractor estimates, evaluate installation requirements, and choose a qualified professional to protect your home from radon exposure.
5 Factors That Influence Installation Expenses
Several factors influence radon mitigation installation expenses. Understanding these elements helps homeowners evaluate contractor estimates, plan budgets, and select suitable solutions.
1. Foundation Type and Home Design
Foundation type influences system design and installation costs. Concrete slabs, basements, and crawl spaces may require different piping arrangements, sealing methods, and suction points.
2. Indoor Radon Concentration
Radon test results help professionals select suitable equipment and system designs. However, foundation type, soil conditions, and airflow also influence installation requirements and costs. Reliable testing ensures accurate estimates and effective mitigation planning.
3. Equipment and Installation Complexity
Active radon systems use fans, PVC pipes, and monitoring devices. However, property layouts, utility obstacles, concealed piping, and additional sealing can increase labor and material expenses.
4. Testing, Permits, and Additional Repairs
Additional expenses may include foundation sealing, crawl space protection, electrical work, permits, and post-installation testing. Always confirm included services to compare estimates accurately and avoid unexpected charges.
5. Location and Contractor Experience
Location affects labor rates, permits, and installer availability. Compare contractor experience, warranties, customer reviews, and service inclusions to ensure quality installation and long-term system performance.
Evaluate foundation requirements, equipment, testing, and contractor experience carefully. Comparing detailed estimates helps you manage expenses and achieve effective radon mitigation.
How Does Radon Mitigation System Installation Work?
Professional Radon Mitigation System Installation generally follows several steps to ensure proper equipment placement, effective gas removal, and reliable long-term system performance.
- First, the contractor assesses the property. The professional reviews test results, examines the foundation, and identifies possible radon entry points.
- Next, the installer designs the system. The contractor selects the suction location, fan capacity, and vent route according to the property’s requirements.
- Then, the technician installs the equipment. This stage may involve drilling a suction opening, connecting pipes, installing the fan, and sealing appropriate gaps.
- Finally, the installer verifies performance. The professional checks system operation and arranges follow-up testing to confirm reduced indoor radon levels.
This structured approach helps homeowners understand the work involved and the reasons behind their individual estimates.
How Can You Manage Long-Term Costs?
The initial installation represents only part of your overall investment. Active systems consume electricity, and their fans may eventually require replacement. Moreover, routine inspections and follow-up testing help you identify performance problems before they undermine the system’s effectiveness.
To manage these expenses, consider the following practices:
- Compare detailed estimates: Review at least two or three qualified contractors’ proposals when possible.
- Check warranty coverage: Understand which components and labor costs the warranty covers.
- Monitor system performance: Check the pressure indicator regularly and investigate unusual changes.
- Schedule follow-up testing: Confirm that the system continues to reduce radon concentrations effectively.
- Address maintenance promptly: Repair damaged pipes, malfunctioning fans, and other problems without unnecessary delays.
Additionally, ask the installer about expected electricity consumption, maintenance intervals, and replacement-part expenses before approving the project.
Why Is Post-Installation Radon Testing Important?
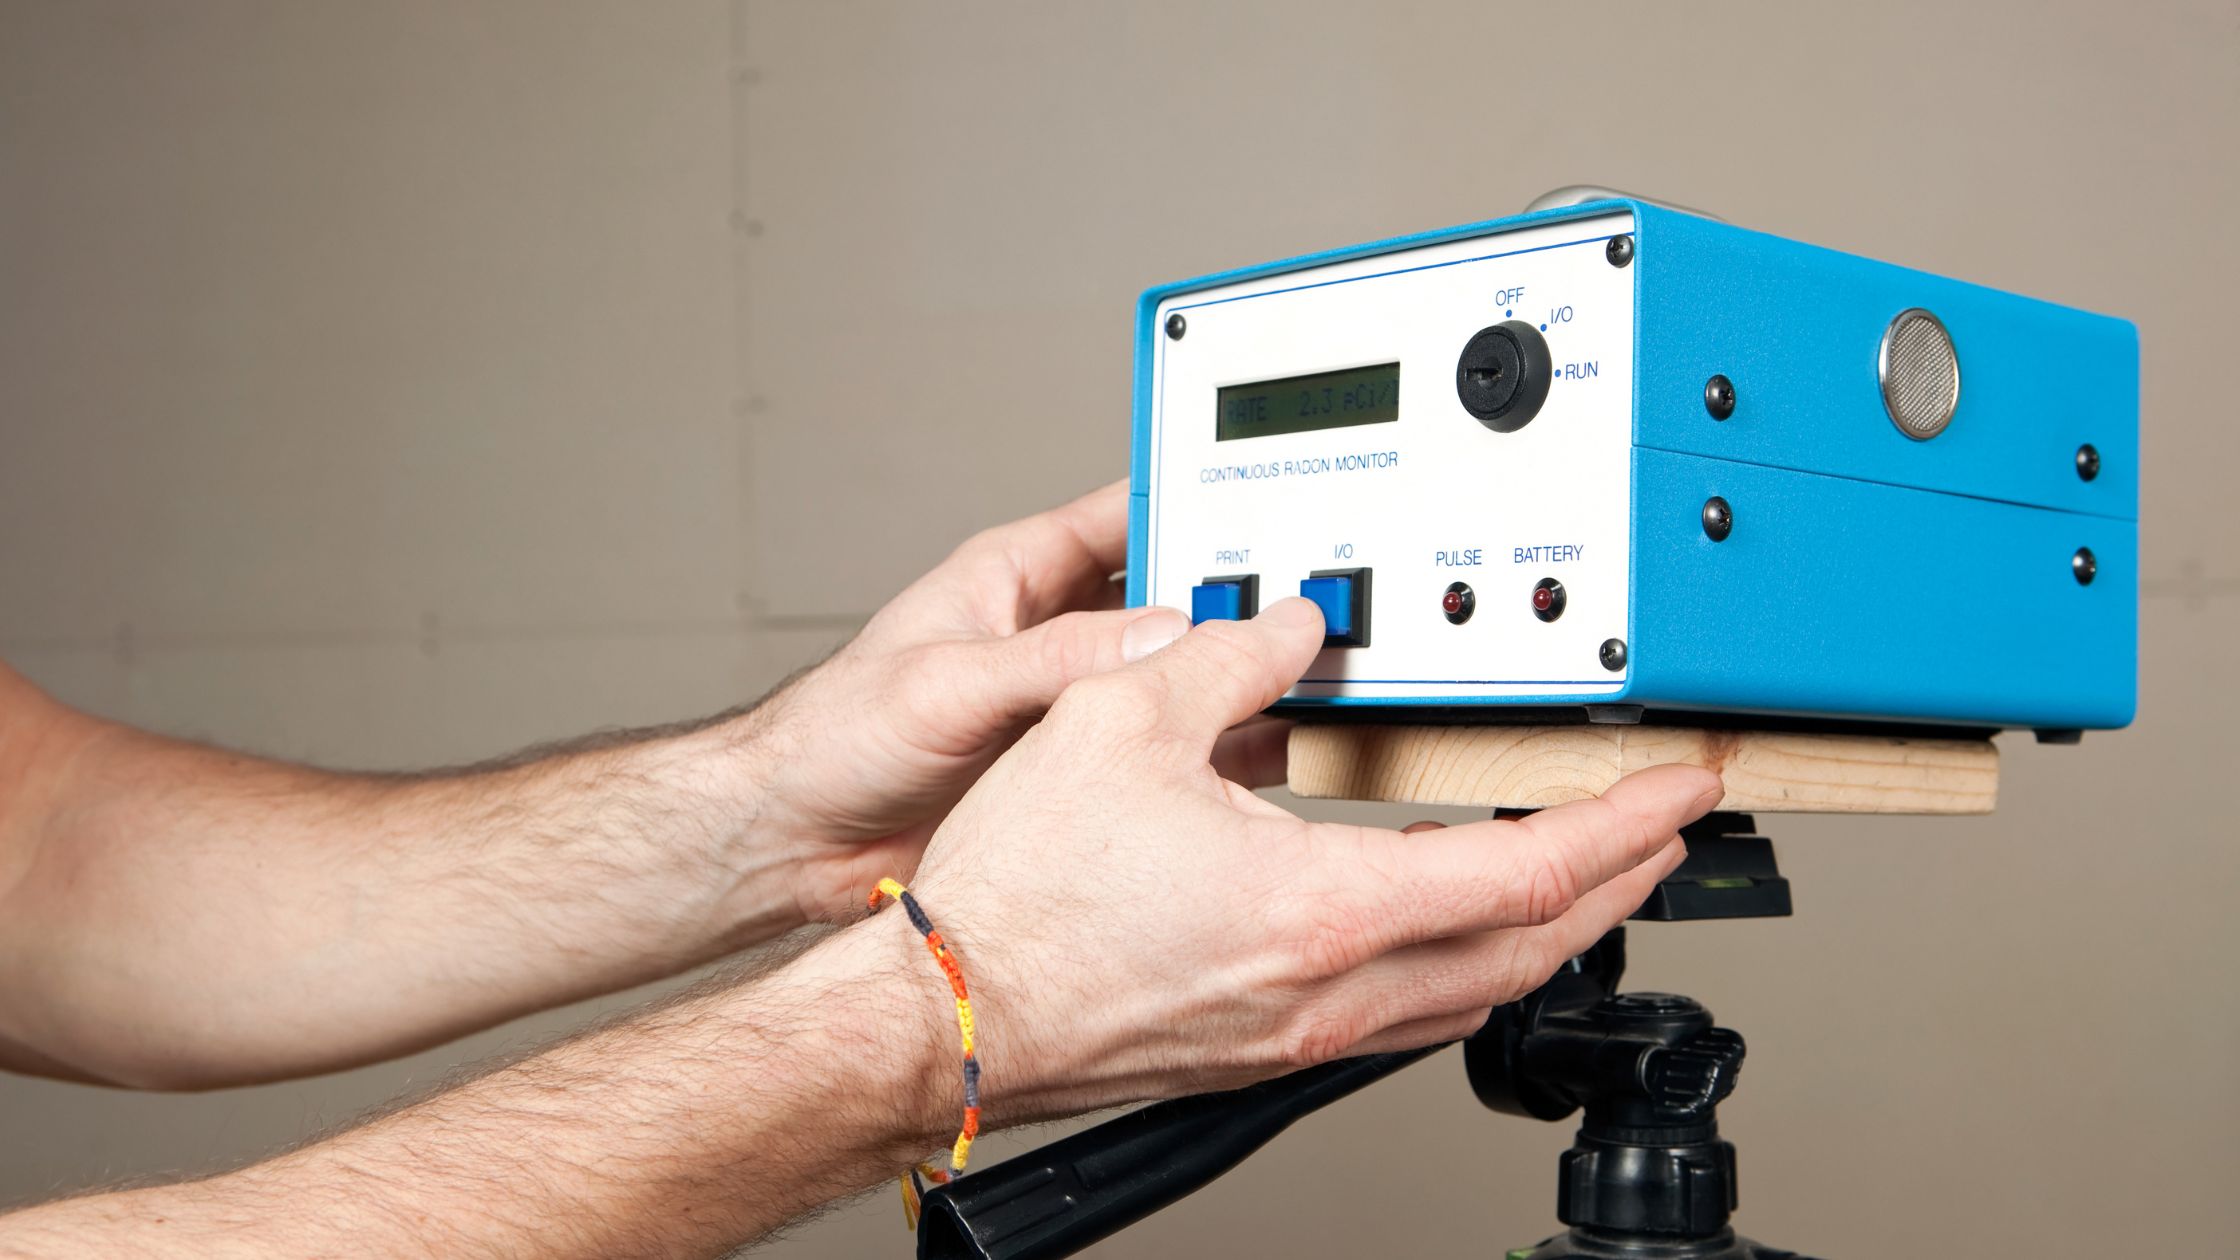
Post-installation radon testing helps homeowners determine whether a mitigation system effectively reduces indoor radon concentrations. Although the system may operate correctly, testing confirms its actual performance. Therefore, homeowners should follow recommended testing procedures after installation and repeat tests periodically. Additionally, they should monitor system indicators and address any performance changes promptly to maintain safer indoor air quality.
Furthermore, homeowners should conduct additional testing after major renovations, system repairs, or changes in building conditions. These checks help identify unexpected radon increases and confirm that the mitigation system continues to perform effectively. Regular testing also provides useful information for deciding when maintenance or professional inspection may become necessary.
Conclusion
Radon mitigation protects your household by reducing exposure to a dangerous indoor pollutant. Although installation expenses depend on foundation design, radon levels, equipment, and labor, a detailed estimate helps you plan your budget with confidence. Also account for follow-up testing and routine maintenance to support long-term performance.
Rather than choosing a contractor based solely on price, compare qualifications, installation details, and service coverage. DSM Radon can help homeowners understand their radon concerns and explore appropriate testing and mitigation solutions for their properties.
FAQs
1. How much does a radon mitigation system typically cost?
A conventional residential system may cost approximately $800 to $2,500, although complex projects can exceed this range. Property conditions, equipment, labor, and local requirements influence the final estimate.
2. Does radon mitigation require professional installation?
Professional installation helps ensure correct system design, appropriate venting, and reliable operation. Qualified installers can also evaluate unusual foundation conditions and arrange post-installation testing.
3. How much does it cost to maintain a radon mitigation system?
Maintenance expenses vary according to electricity consumption, inspection requirements, and replacement parts. Ask your installer for an estimate covering routine maintenance and potential fan replacement.
4. How can I confirm that my radon mitigation system works?
Check the system’s pressure indicator regularly and conduct follow-up radon testing after installation. Repeat testing periodically and whenever system performance changes to confirm that indoor radon levels remain reduced.