
A basement remodel is an exciting opportunity to enhance your living space — but it’s also the perfect time to protect your home from hidden health risks like radon. Integrating mitigation strategies into your remodeling plan ensures lasting safety, better air quality, and long-term peace of mind for your family.

Why Every Basement Remodel Needs Radon Protection
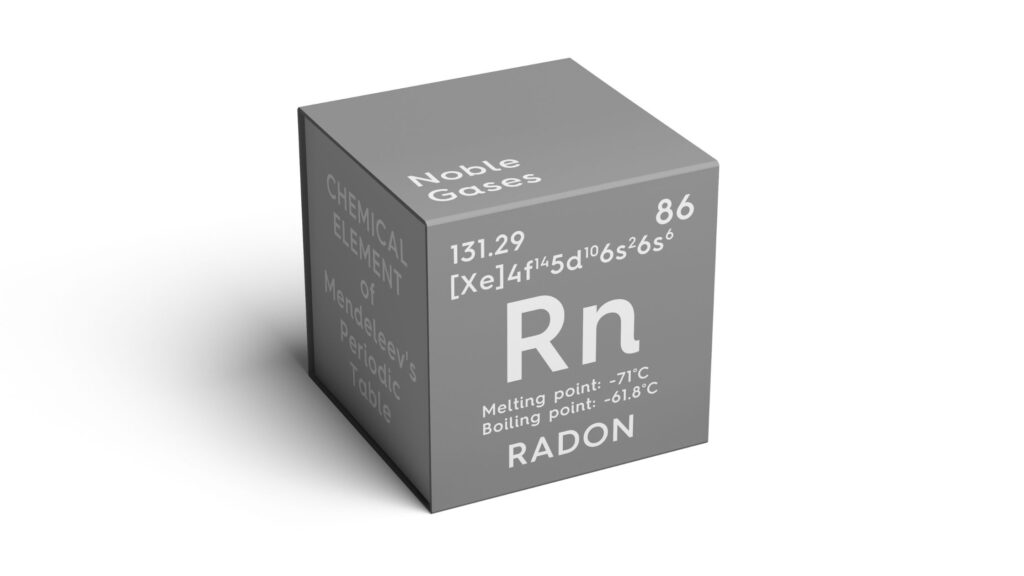
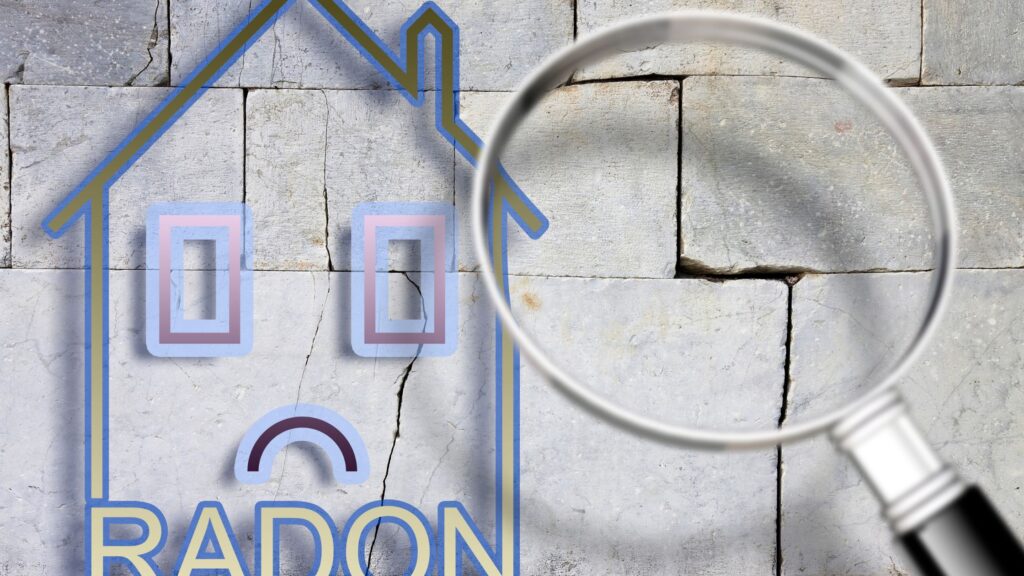
Radon, a naturally occurring radioactive gas, seeps through cracks and openings in foundations. Because basements sit below ground level, they’re particularly susceptible to radon buildup. Ignoring this step during remodeling can lead to unsafe air conditions, even after the project looks complete.
A professional remodeling plan that includes radon mitigation helps prevent long-term health risks, enhances overall indoor air quality, and increases both the value and safety of your home. By integrating these safety measures early, homeowners ensure a healthier environment and greater peace of mind for years to come.
Step-by-Step Basement Remodeling & Mitigation
Here is how the remodeling, including radon mitigation, can be done-
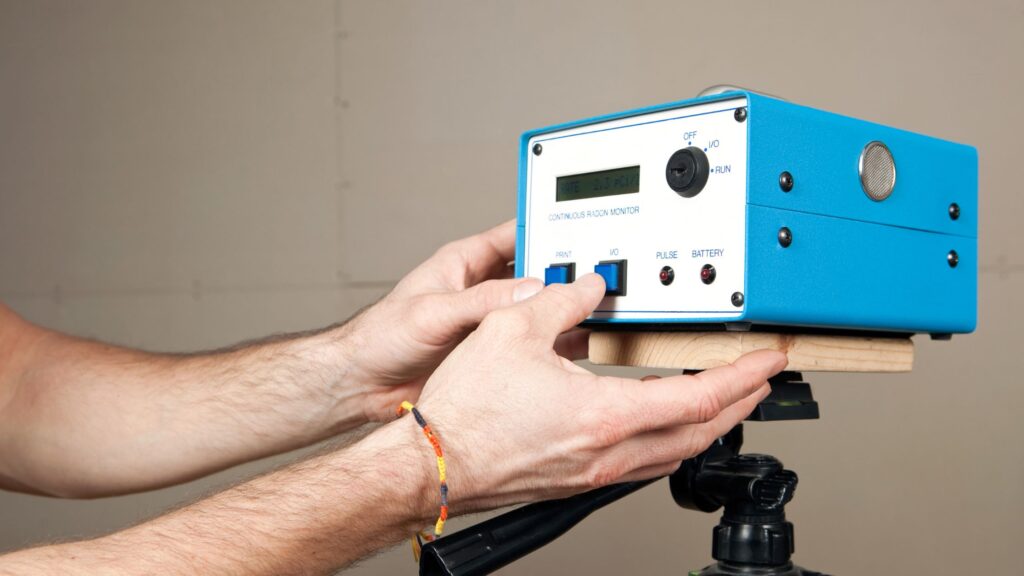
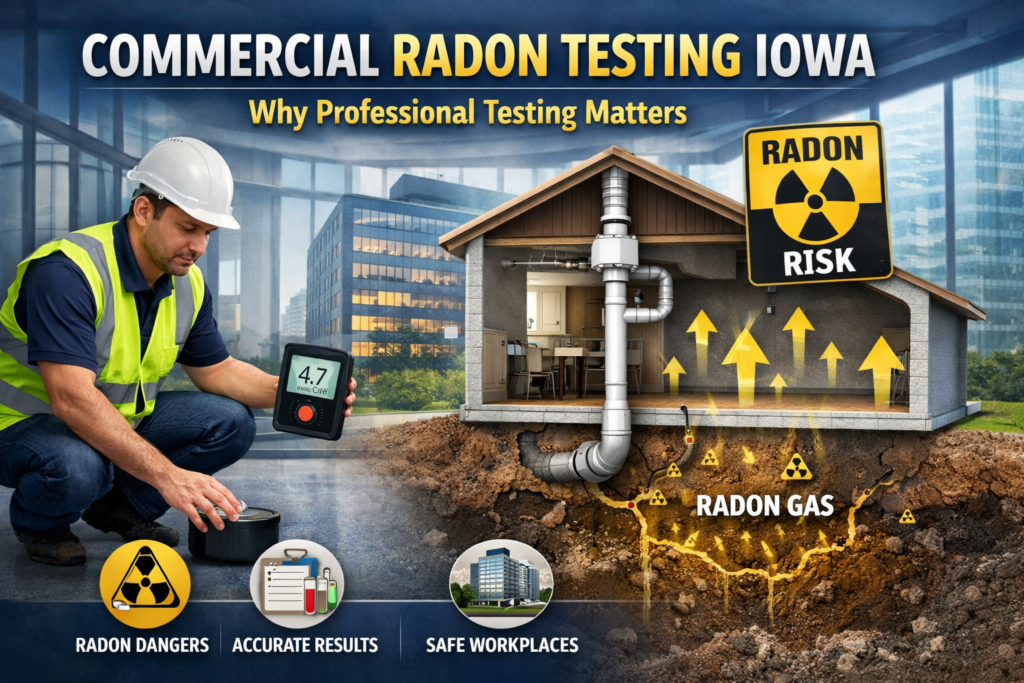
Step 1: Begin with Accurate Radon Testing
Before any remodeling begins, it’s essential to test your basement for radon levels. Certified testing provides a clear understanding of existing risks.
- Short-term testing
Ideal before renovations to detect immediate concerns and identify whether radon levels rise quickly under current conditions. It helps homeowners take timely action before construction begins.
- Long-term testing
Provides a more accurate picture of radon levels across different seasons and living conditions, offering a clearer understanding of year-round exposure and mitigation needs.
Testing before and after remodeling ensures that your new improvements don’t accidentally trap radon gas inside.
Step 2: Seal and Secure Foundation Gaps
During a remodel, the foundation becomes more accessible. Take advantage of this stage to seal any cracks or gaps where radon can enter.
- Use Durable Sealants for Long-Lasting Protection
Apply high-quality polyurethane or epoxy sealants to cracks and openings. These materials bond tightly, resist moisture, and expand with temperature changes for lasting coverage.
- Inspect Key Areas for Hidden Openings
Check sump pits, floor joints, utility penetrations, and wall-to-floor seams, as these are common radon entry points. Seal them before installing new flooring or drywall.
- Add Vapor Barriers Beneath Floors and Walls
Install heavy-duty plastic or vapor membranes beneath floors and behind walls to block soil gases and improve indoor air quality..
- Install Airtight Covers and Conduct a Pressure Check
Fit airtight lids on sump pumps and utility cutouts, then perform a pressure or smoke test to ensure no leaks, boosting the effectiveness of your radon mitigation system.
Step 3: Integrate a Sub-Slab Depressurization System
The most proven and efficient method for reducing radon in basements is sub-slab depressurization. This system creates controlled suction beneath the concrete slab, using a vent pipe and a continuously running fan to redirect radon gas safely outside before it enters the living space.
Installing the SSD system during the remodeling phase is highly recommended. It allows for the strategic placement of piping and fans while the foundation is accessible, minimizing disruption and overall installation costs.
Step 4: Improve Airflow and Ventilation
A remodeled basement often becomes a sealed environment with insulation and new finishes. While this improves comfort, it can reduce airflow.
To maintain safe air circulation:
- Install mechanical ventilation systems or fresh air intakes.
- Include dehumidifiers to control humidity levels.
- Avoid completely closing off rooms without ventilation points.
Balanced airflow helps prevent radon accumulation and enhances overall indoor comfort.
Step 5: Choose Radon-Resistant Building Materials
During remodeling, selecting the right materials plays a major role in prevention.
- Use vapor barriers beneath flooring or carpeting.
- Opt for non-porous flooring such as sealed concrete or vinyl.
- Avoid wall materials that trap moisture and restrict air circulation.
These small choices contribute significantly to long-term radon safety.
Step 6: Retest After Remodeling
Once the remodel is complete, perform a post-mitigation radon test to confirm that levels remain safe. Schedule regular tests every two years, or sooner if you make additional structural changes. Continuous testing ensures your mitigation measures continue working effectively over time.
Why Hire a Professional Radon Mitigation Expert
Professional installers bring technical precision and certified expertise that ensures lasting protection. They can:
- Assess your basement’s unique structure and soil type.
- Design a tailored system that meets building codes.
- Guarantee correct fan placement and vent routing.
- Provide follow-up testing for verified results.
By partnering with certified radon specialists, you avoid the risks of incomplete or ineffective installations. Learn more about What Is Radon?
The Ideal Remodel Workflow for Radon Mitigation
Here’s a simple plan to integrate mitigation smoothly into your remodel:
- Pre-remodel testing: Identify baseline radon levels.
- Foundation preparation: Seal cracks, install vapor barriers.
- System installation: Add SSD pipes and a fan during framing.
- Ventilation check: Ensure air exchange remains balanced.
- Post-remodel testing: Confirm that levels meet safety standards.
Following this sequence ensures efficiency, cost savings, and complete safety from start to finish.
Conclusion
A basement remodel is more than a design upgrade — it’s an opportunity to build health and safety into your home’s foundation. By applying these radon mitigation insights, you’ll create a durable, comfortable, and radon-free living space for years to come. For professional support and expert installation, trust DSM Radon— your partner in safe and reliable home transformations.
FAQs
1: Why is radon mitigation essential during a basement remodel?
Because remodeling can alter air pressure and ventilation, radon can become trapped. Mitigation ensures safety and long-term air quality.
2: Can I install a radon system after remodeling?
Yes, but it’s more cost-effective and less invasive to install one during the remodel.
3: How long does a professional radon system remain effective?
A professional radon mitigation system usually lasts 10 to 15 years. Routine testing and occasional fan replacement keep it working efficiently and safely.
4: How often should I retest for radon?
Test after installation, then every two years or after significant structural changes.