

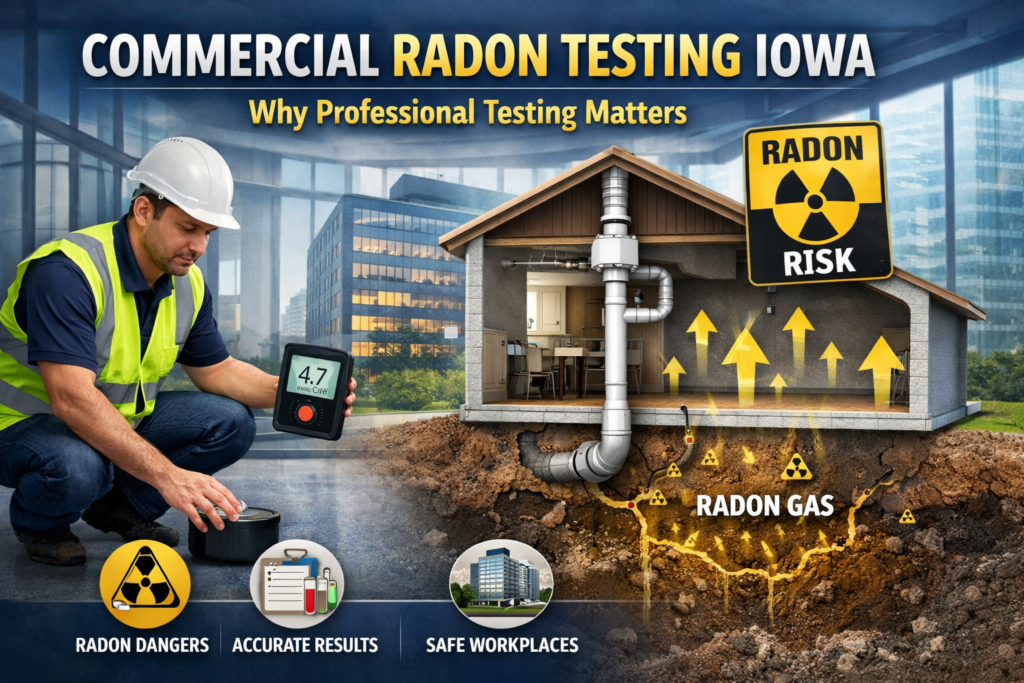
Radon is an invisible, odorless gas that can silently threaten your family’s health. It enters your home through cracks in the foundation, crawl spaces, and even well water. Because prolonged exposure can lead to serious health conditions, especially lung cancer, it’s crucial to understand how you test for radon in your living space.
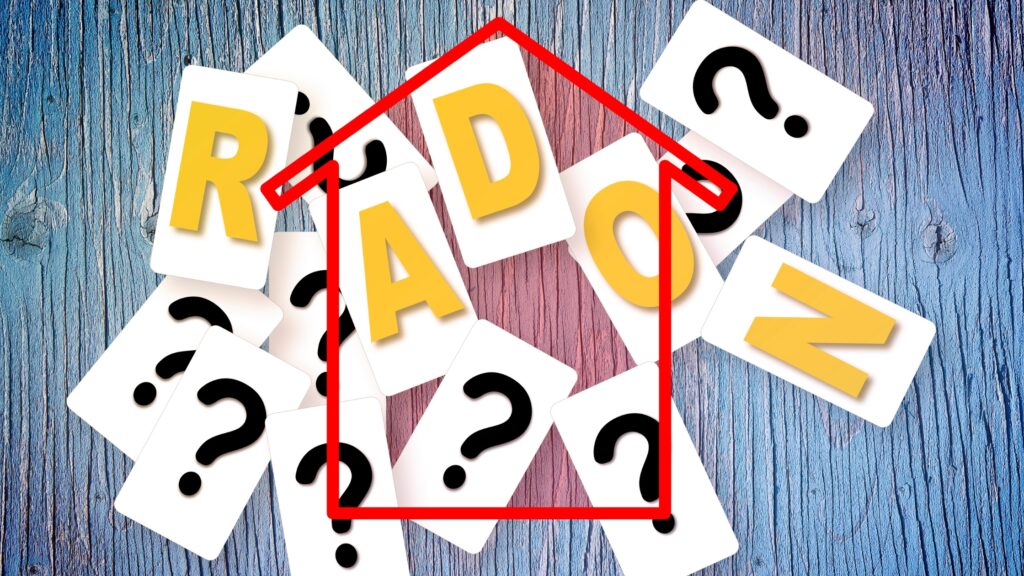
What Is Radon and Why Should You Care?
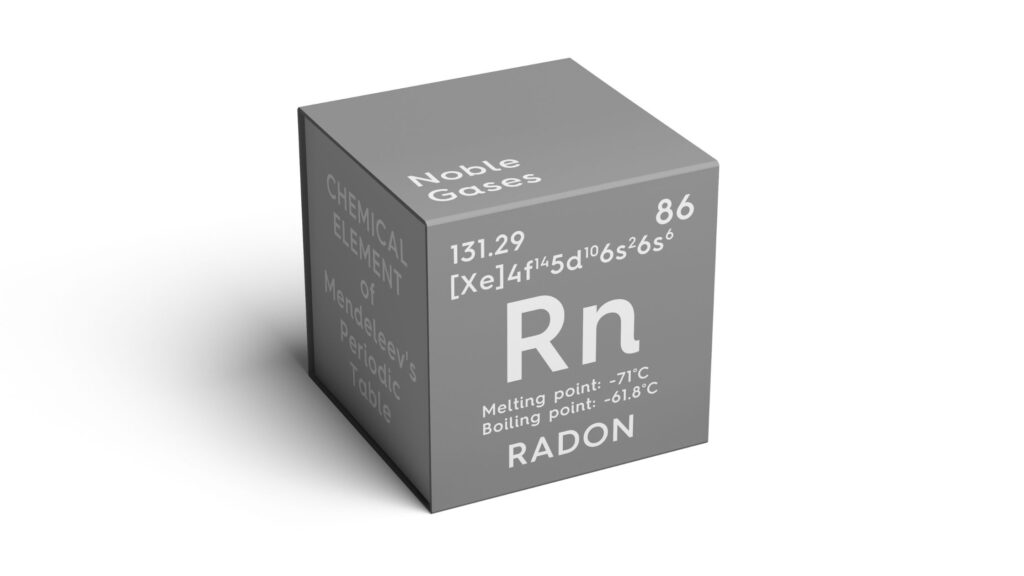
Radon is a naturally occurring gas formed by the breakdown of uranium in soil and rock. It seeps upward and may accumulate indoors without detection. While it doesn’t cause immediate symptoms, radon is a Class A carcinogen—the second leading cause of lung cancer in the U.S., and the number one cause among non-smokers.
You cannot see or smell it. Therefore, testing your home is the only way to detect radon, and if you’re asking how to do that, you’re already taking the first step toward protecting your health.Learn more about Radon Testing Home Inspection.
Who Should Test Their Home?
Every homeowner should test for radon, regardless of the home’s age or location. Even new constructions can have high radon levels. Certain areas, such as Colorado and other Rocky Mountain states, are naturally prone to elevated radon due to the uranium-rich soil.
You should test if:
- You’ve never done a radon test before.
- You’re buying or selling a home.
- You’re moving into a rental.
- You live in a high-radon zone.
- You’ve recently renovated or made foundation changes.
Radon Testing Options: Short-Term vs. Long-Term
You can test for radon using either a short-term or a long-term test kit, both of which are widely available online or at hardware stores.
- Short-term tests last between 2 to 7 days (48–120 hours). These are ideal for quick results and are perfect for real estate transactions.
- Long-term tests monitor radon levels for at least 91 days and provide a more accurate picture, especially if you live in an area with fluctuating temperatures.
If your short-term test reveals radon levels at or above 4.0 pCi/L (picocuries per liter), it is recommended to test. This second test helps confirm whether your home needs a radon mitigation system.
Preparing for a Radon Test
Before you begin, close all windows and exterior doors for at least 12 hours. This creates a controlled environment for more accurate results. Then, place the test kit in the lowest level of your home that is regularly used, such as a basement or ground floor.
Avoid placing it near vents, fans, bathrooms, or kitchens. Also, never place the test on granite countertops or slate surfaces, which may give false readings.
During the test, maintain closed-house conditions. That means you can come and go, but avoid leaving doors or windows open for long periods.

DIY Kits vs. Professional Testing
Wondering whether you should hire a pro or go the DIY route? The answer depends on your needs.
- DIY kits cost between $10–$50 and are fairly accurate when used correctly.
- Professional testing often uses Continuous Radon Monitors (CRMs) for real-time, high-precision data. These are especially useful during home sales.
Regardless of which method you choose, the testing process is straightforward. Just follow the instructions, mail in the kit if required, and wait for your results.
What to Do If Radon Levels Are High
If both tests confirm elevated radon levels, you’ll need to install a radon mitigation system. These systems draw radon from beneath your home and release it outdoors before it can build up inside.
Depending on your home’s foundation, a professional can recommend the best setup, whether it’s sub-slab depressurization or sub-membrane depressurization for crawl spaces.
What Affects Radon Levels in a Home?
Several factors can influence how much radon accumulates in your home:
- Foundation type (basement, crawl space, slab-on-grade)
- Seasonal temperature changes
- Soil composition
- Ventilation and air pressure
Because of these variables, radon testing might vary slightly between homes, even in the same neighborhood.
Radon in Water: An Overlooked Risk
If your air test shows high levels and you use well water, consider testing your water for radon too. Waterborne radon can be inhaled during everyday activities like showering or washing dishes. In such cases, point-of-entry filtration systems or aeration units can reduce exposure.
Radon and Real Estate Transactions
When buying or selling a home, radon testing is a crucial part of the process. Home buyers are encouraged to request a radon test during inspections. If levels are high, sellers often agree to install mitigation systems before closing.
For rentals, some states require landlords to disclose radon risks. Renters also have the right to test their units and may even void leases if landlords fail to take action.
Final Thoughts
So, how do you test for radon effectively? Start with a short-term test in the lowest livable area of your home, follow up if necessary, and mitigate if results stay elevated. Testing is simple, affordable, and a small step toward preventing a life-threatening illness.
To ensure accurate and reliable results, consider working with licensed professionals like DSM Radon for dependable testing or mitigation services.

FAQs:
1. How often should I test my home for radon?
You should test your home every 2 to 5 years, or immediately after major renovations or changes in heating systems.
2. Is winter the best time to test for radon?
Yes, winter months are ideal since homes are usually closed up, creating stable indoor conditions for accurate testing.
3. Can I test my rental unit for radon?
Yes, tenants are allowed to test for radon. In some states, like Colorado, landlords must also disclose radon risks.
4. What is considered a safe radon level?
According to the EPA, levels below 4.0 pCi/L are considered acceptable, but even levels between 2 and 4 pCi/L may pose risks, so mitigation is still worth considering.