
Radon is a colorless, odorless radioactive gas that can seep into homes, posing serious health risks. If your radon levels are elevated, timely remediation is crucial. Understanding the duration and process of radon remediation can help homeowners take informed action. Radon exposure is the second leading cause of lung cancer in the United States, making it essential to address high radon levels as soon as possible. Ignoring radon risks can lead to long-term health issues, particularly for those who live in areas with naturally higher radon concentrations. Left untreated, prolonged exposure can significantly increase the risk of developing serious respiratory diseases, emphasizing the importance of early intervention.
What Is Radon Remediation?
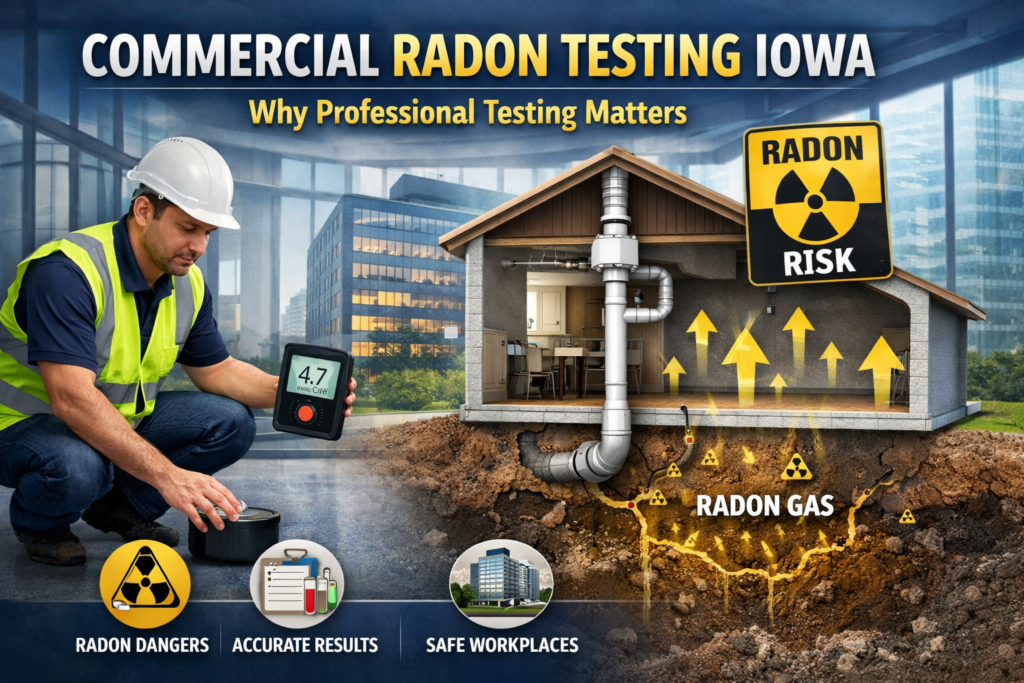
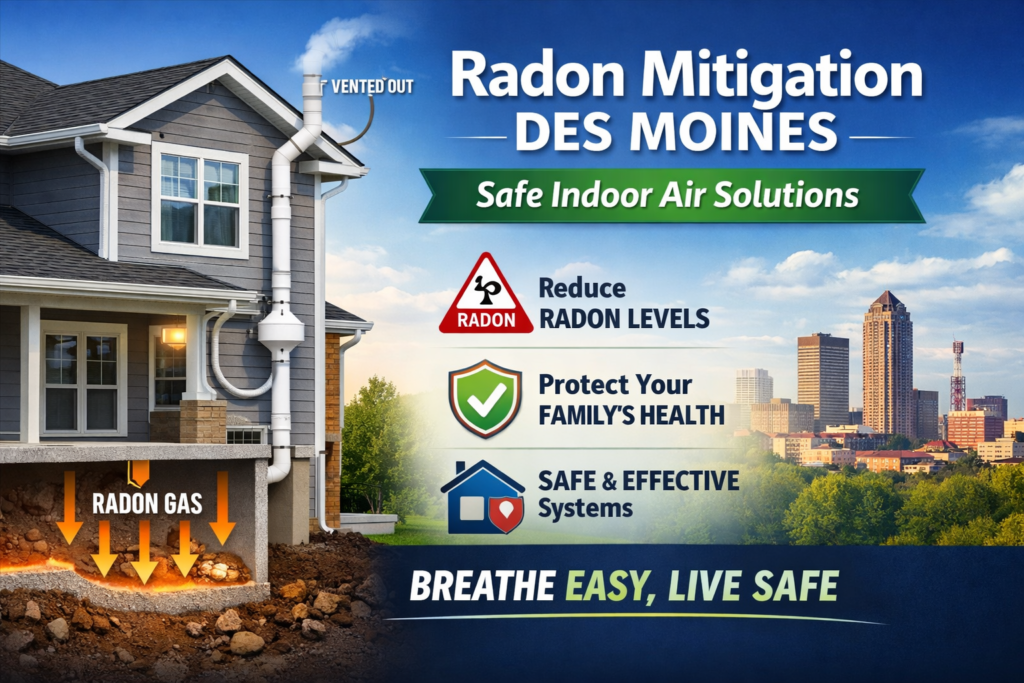
Radon remediation, also known as radon mitigation, involves reducing radon levels in a building to minimize health risks. The most common method is Active Soil Depressurization (ASD), which uses a fan to draw radon from beneath the home and vent it outside. This system is highly effective and widely used due to its ability to significantly lower radon levels.
Other methods include sub-membrane depressurization for homes with crawl spaces and sealing cracks in the foundation. These techniques work together to reduce radon levels by limiting its entry into the home and preventing future accumulation.
The process of radon remediation typically involves the installation of a vent pipe system and a fan that draws radon from below the house and vents it into the outdoor air. In some cases, additional measures such as sealing entry points or improving ventilation may be necessary to further reduce radon levels.
Timeframe for Radon Mitigation Process
The time it takes to complete radon remediation varies depending on several factors. Here’s a breakdown of each phase:
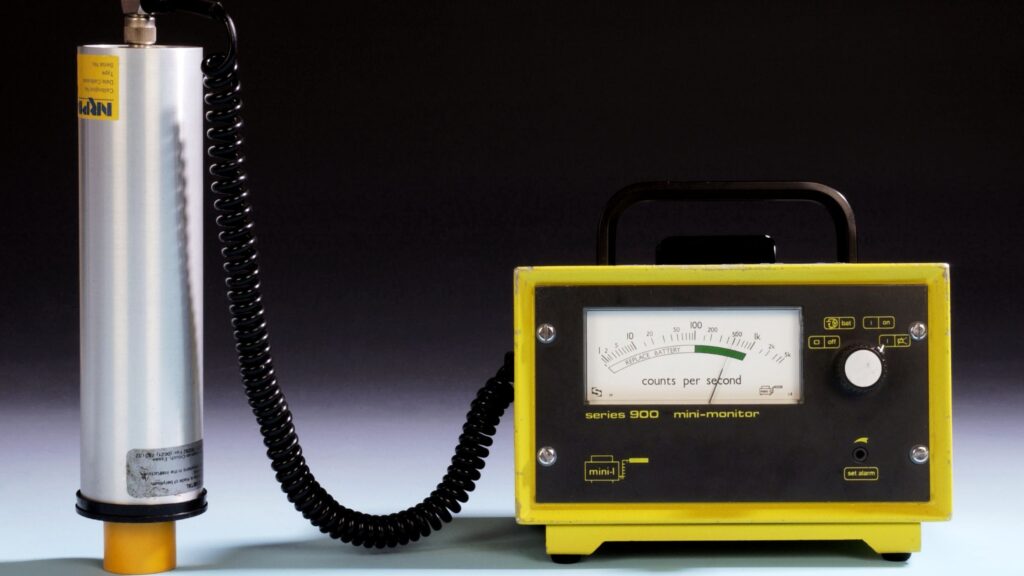
A) Initial Radon Testing
Radon testing typically takes 2 to 7 days to accurately measure radon levels in different areas of the home. The results from this testing will help determine the urgency of the remediation process.
B) Site Evaluation and System Design
The professional assessment takes about 1 to 3 hours. During this phase, the home’s structure is evaluated, and a tailored plan is created for installing the radon mitigation system.
C) Installation of Mitigation System
The installation of the mitigation system usually takes 4 to 6 hours, depending on the complexity of the home. The time may increase for larger homes or when additional measures, such as sealing foundation cracks, are necessary.
D) Post-Installation Testing and Adjustment
After installation, testing for system effectiveness takes another 24 to 48 hours. This ensures that radon levels are significantly reduced, and any necessary adjustments to the system are made during this period.
Understanding this timeline allows homeowners to prepare for each stage of the radon remediation process. Quick action can significantly reduce the health risks associated with radon exposure.
Steps Involved in Radon Remediation
Radon remediation involves several key steps to effectively reduce radon levels in your home and ensure a safe living environment. From testing and system design to installation and post-remediation checks, each step is crucial for ensuring the system’s effectiveness and long-term success.
- Initial Testing: Conduct a radon test to determine the concentration levels in your home. This step is crucial as it gives a baseline measurement of radon levels.
- System Design: A professional assesses your home and design a mitigation system tailored to your needs. Based on the layout and radon levels, the mitigation expert will determine the best approach.
- Installation: Qualified technicians install the system, ensuring all components are properly placed. This includes the fan, vent pipe, and any necessary seals or additional features.
- Post-Installation Testing: Test radon levels again to confirm the system’s effectiveness. This ensures that the remediation system is working as expected and that radon levels have been reduced to safe levels.
- Maintenance: Regular checks and maintenance ensure the system continues to operate efficiently. Maintenance may include cleaning the system, checking the fan’s performance, and re-testing radon levels periodically.
This process ensures that radon levels are reduced effectively, providing long-term safety for your home and family.
Conclusion
Radon remediation is a vital step in ensuring a safe living environment. While the installation process is relatively quick, ongoing monitoring and maintenance are essential for long-term effectiveness. Regular checks ensure that the system continues to function properly, keeping radon levels at safe levels. For residents in the Des Moines area, DSM Radon offers professional radon testing and mitigation services to protect your home and health.
Ensuring that your home remains radon-free is key to safeguarding the well-being of your family for years to come. Additionally, periodic re-testing after remediation can help detect any changes in radon levels, ensuring your home stays protected.
Frequently Asked Questions
1. How do I know if my home has high radon levels?
The only way to know is by conducting a radon test. Short-term tests can provide quick results, while long-term tests offer a more comprehensive assessment.
2. Can I install a radon mitigation system myself?
It’s recommended to hire a certified professional to ensure the system is installed correctly and effectively reduces radon levels. Professional installation ensures the safety and effectiveness of the system.
3. How often should I test for radon after remediation?
It’s advisable to test every two years to ensure radon levels remain low. Regular testing can help detect any changes in radon concentrations over time.
4. Are there any health risks if radon levels remain high?
Yes, prolonged exposure to elevated radon levels increases the risk of lung cancer. It’s crucial to mitigate radon levels to safeguard the health of your family.