

Radon exposure is the second biggest cause of lung cancer after smoking. It sneaks into homes through cracks and gaps in the foundation, and you usually can’t see or smell it. The only way to know if your home is safe is to test it. This article explains how to test for radon, the best time to do it, and why getting help from professionals can make a big difference.

The Idea of Radon and Why It Matters
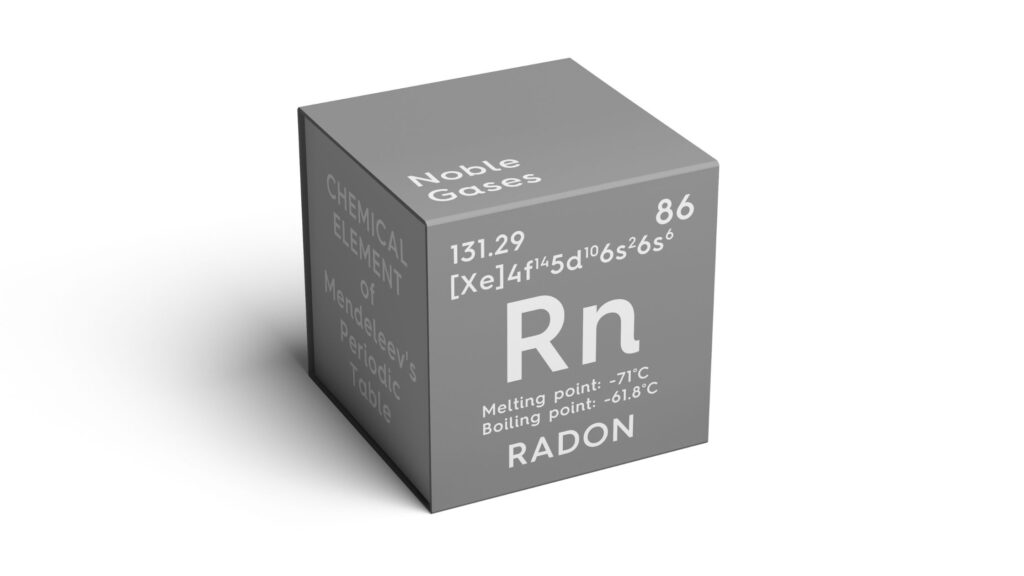
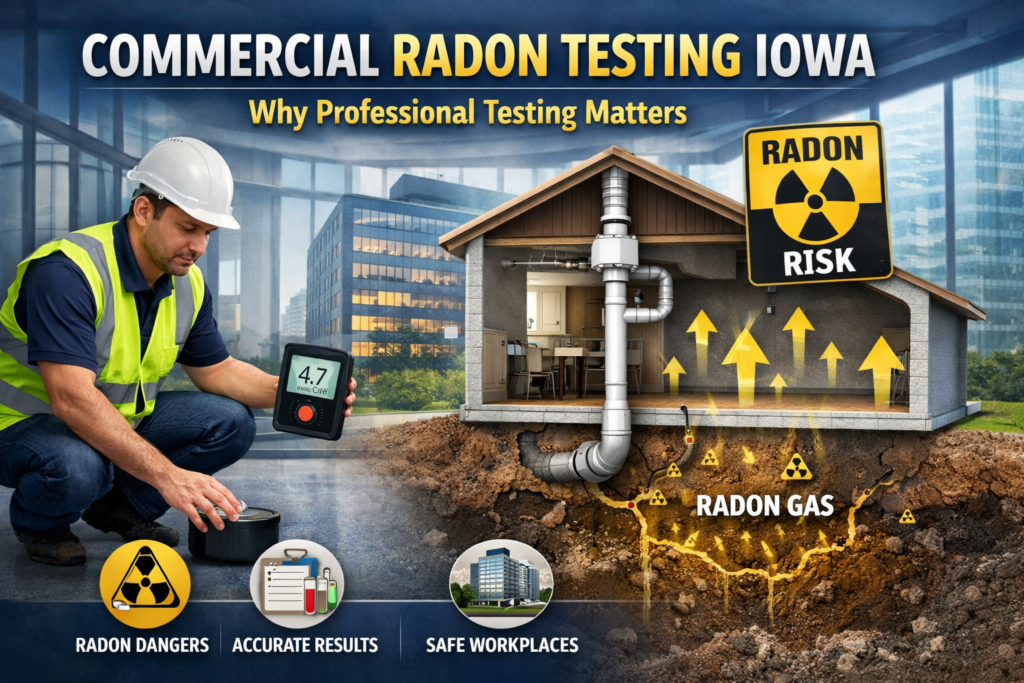
Radon is a natural gas that forms when uranium breaks down in soil, rock, and water. It can get into your home through small cracks in the foundation, crawl spaces, and even through water systems. Once it’s inside, radon can build up and become dangerous. The Environmental Protection Agency (EPA) says you should take action if levels reach 4 picocuries per liter (pCi/L) or higher. But even levels between 2–4 pCi/L can still be risky. Since you can’t see, smell, or taste radon, the only way to know if your home is safe is to test it.
When You Should Test for Radon
You should test your home:
- When you’re buying or selling a property
- After big renovations, especially if you finish the basement
- Every 2 years, as part of regular home maintenance
- If you’ve never tested your home before
During cold months, homes are closed up tight, which makes it the best time to test. Keeping windows and doors closed helps get more accurate readings. Understanding how to test for radon properly during this time can give you the most reliable results. Learn more about Radon Harmful or not.
Testing Options: Short-Term vs. Long-Term
When figuring out how to test for radon, you’ll choose between short-term and long-term tests:
A. Short-Term Tests (2–7 days)
These are great for quick results, especially during real estate transactions. They give you a snapshot of radon levels over a few days.
B. Long-Term Tests (91+ days)
These tests measure radon over several months, giving a more accurate picture by capturing daily and seasonal changes. They’re better for understanding long-term exposure.
Preparing for a Radon Test
To get accurate results when learning how to test for radon, follow these steps before testing:
- Close all windows and outside doors at least 12 hours before and during the test.
- Don’t use fans or systems that bring in outside air.
- Keep your heating or cooling running as usual.
- Put the test device on the lowest livable level of your home, like the basement or ground floor.
- Avoid placing the test near vents, windows, or damp areas.
Step-by-Step: How to Test for Radon
Here is who to test for the radon-
Step 1: Choose the Test Type
Pick either a short-term or long-term test based on how quickly you need results and the time of year.
Step 2: Place the Device
Put the test device on the lowest livable level of your home, like the basement or ground floor. During the test, keep windows and doors closed to maintain “closed house” conditions.
Step 3: Run the Test
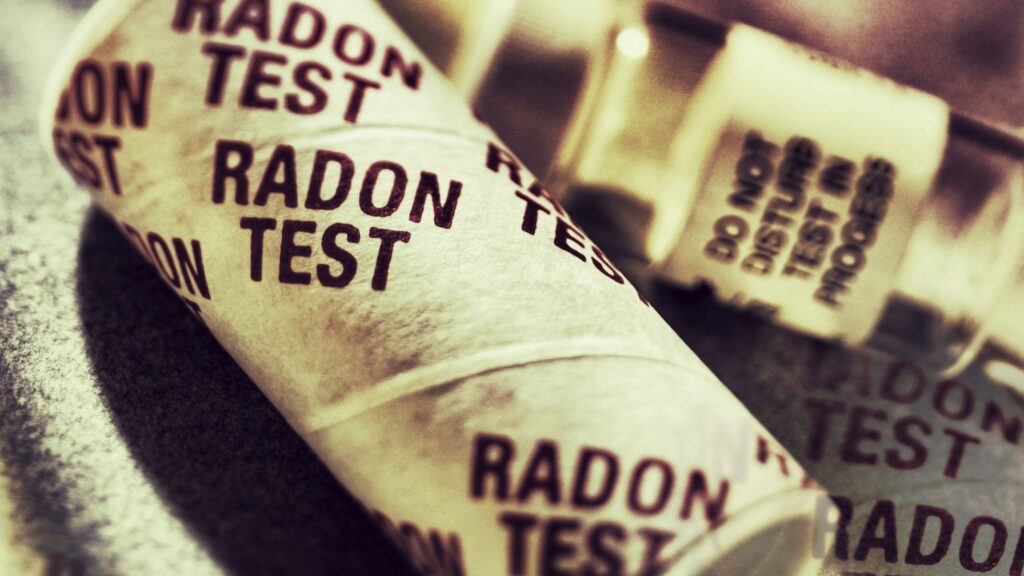
Leave the device in place for the full testing period. Afterward, either send it to a certified lab or check the digital readings, depending on the type of device.
Step 4: Get the Results
You will get a report showing your radon level measured in picocuries per liter (pCi/L).
Step 5: Retest If Needed
If your results are between 4 and 10 pCi/L, do a second test, either short-term or long-term. If levels are above 10 pCi/L, repeat a short-term test to avoid delaying radon reduction steps.
Knowing how to test for radon step-by-step helps you get the most accurate readings.
How to Read and Understand Results
After testing, you’ll get a result measured in pCi/L. Here’s what those numbers mean:
- Below 2 pCi/L: This is low, so usually no action is needed.
- Between 2 and 4 pCi/L: Still generally safe, but the EPA suggests thinking about reducing radon.
- Above 4 pCi/L: You need to take action right away by installing radon mitigation.
Actions to Take When Levels Are High
You can lower radon inside your home by:
- Installing a sub-slab depressurization system that vents radon outside
- Sealing cracks in your foundation, floors, and walls
- Improving ventilation in basements and crawl spaces
- Using radon-resistant building methods during renovations or new construction
After the system is in place, test again to make sure radon levels are safely reduced. Knowing how to test for radon even after mitigation ensures your home stays safe.
Why You Should Trust DSM Radon
DSM Radon’s services include:
- Certified radon testing for homes and businesses
- Fast radon testing for real estate transactions
- Continuous radon monitor testing
- Custom design and installation of mitigation systems
- Testing for radon in water and air purification solutions
They focus on customer satisfaction, accurate results, and keeping your home safe for the long run. Plus, they help homeowners understand radon risks and offer professional retesting when needed.

Conclusion
Knowing how to test for radon can be the key to keeping your home safe from this hidden health risk. Whether you choose a short-term DIY test or hire certified experts, the goal is the same: protect your health by finding and fixing any radon problems.
For accurate testing, reliable results, and expert radon mitigation, trust DSM Radon. Their skilled team serves the Des Moines area with years of experience, proper licensing, and a strong focus on your safety. For more guidance, visit DSM Radon.