
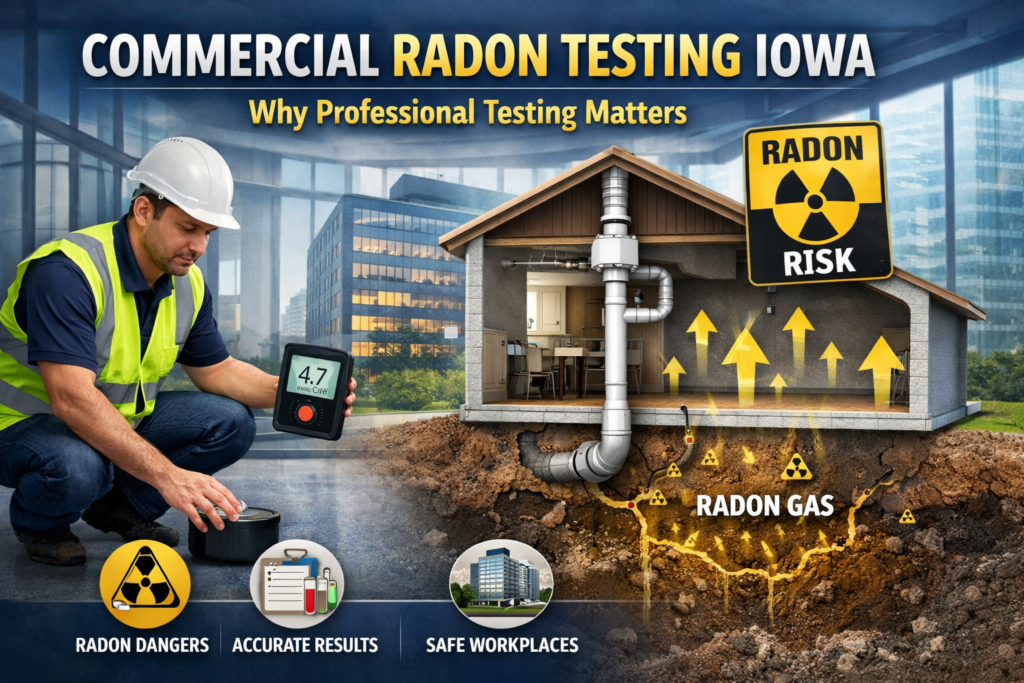

Radon is a naturally occurring, radioactive gas that you cannot see, smell, or taste. It forms when uranium in soil, rock, and water breaks down and can easily enter homes through cracks or gaps in the foundation. Long-term exposure to high radon levels is the second leading cause of lung cancer in the United States. That’s why knowing how to test for radon in your home is essential to protect your health and keep your family safe.
Understanding Radon and Its Risks
Radon is a natural gas that can build up to harmful levels inside homes, especially in areas where the soil contains high amounts of uranium. Because radon is invisible, odorless, and tasteless, the only way to know if it’s in your home is by testing. The U.S. Environmental Protection Agency (EPA) recommends that all homes below the third floor be tested for radon to ensure a safe living environment.
Why Testing Your Home for Radon is Essential
Testing for radon in your home is very important for several reasons:
- Health Risks: Long-term exposure to elevated radon levels can seriously increase the risk of lung cancer. Because radon is radioactive, its particles can slowly damage lung tissue over time, making early detection key to protecting your family.
- Invisible Threat: Radon is completely odorless, tasteless, and invisible. Unlike smoke or gas leaks, you can’t detect it with your senses, so testing is the only way to know if your home is at risk.
- Home Safety: Finding radon early lets you take action, such as improving ventilation or installing a radon reduction system. These steps help keep your home safe and healthy for everyone living there.
Types of Radon Tests
There are two main types of radon tests you can use to check your home:
I. Short-Term Tests: These tests measure radon levels over a period of 2 to 90 days. They are great for quickly assessing whether your home has a radon problem.
II. Long-Term Tests: These tests run for more than 90 days and provide a more accurate picture of your home’s average radon levels throughout the year.
Step-by-Step Guide to Testing for Radon
i. Choose the Right Test Kit: Pick a test kit that fits your needs. Short-term kits are available at hardware stores, while long-term kits can be ordered online or through certified radon professionals.
ii. Pick the Testing Location: Place the kit in the lowest livable area of your home, such as a basement or ground floor. Keep it away from drafts, heaters, and humid areas for accurate results.
iii. Follow the Instructions: Read and follow the manufacturer’s guidelines carefully to ensure your test provides reliable data.
iv. Seal Windows and Doors: For short-term tests, close all windows and doors at least 12 hours before and during the testing period to avoid external air affecting the readings.
v. Leave the Kit Undisturbed: Let the kit sit in place for the full recommended duration without moving or touching it.
vi. Send the Kit for Analysis: Once the testing period is complete, seal the kit as instructed and send it to the designated laboratory to get your results.
Interpreting Radon Test Results
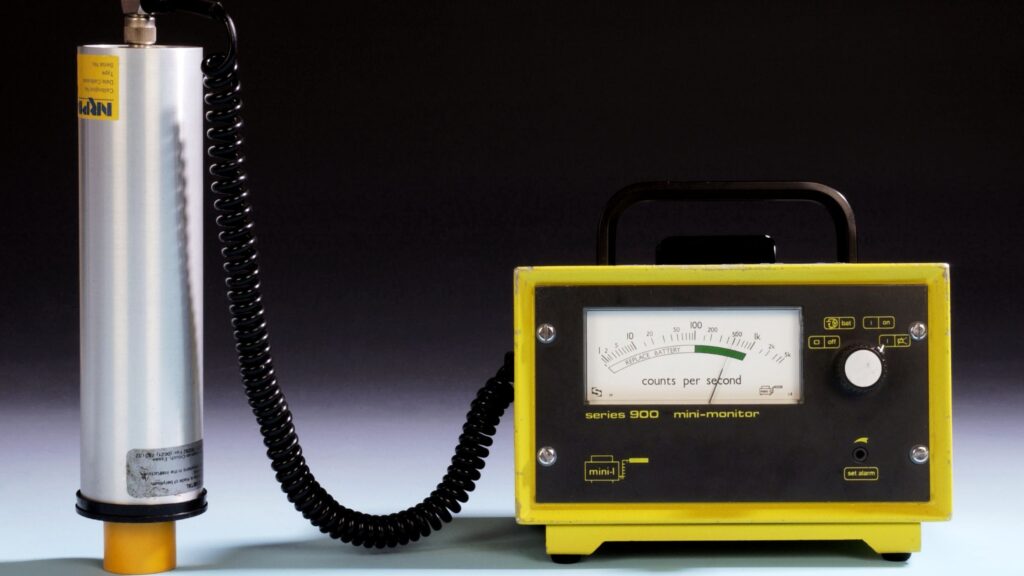
Radon levels are measured in picocuries per liter (pCi/L), which shows how much radon gas is in the air. The EPA recommends taking action if levels reach 4 pCi/L or higher, as long-term exposure at or above this level can pose serious health risks. Learn more about Radon Testing Home Inspection.
If your test results show high radon levels, it’s important to respond quickly:
- Confirm the Results: Always run a follow-up test to verify the initial findings. This helps ensure accuracy and rules out temporary variations caused by weather or ventilation.
- Consult Professionals: Reach out to certified radon mitigation specialists. They can assess your home, recommend safe and effective solutions, and install systems to lower radon levels, keeping your living environment healthy and secure.
What to Do if Your Home Has High Radon Levels
If your home has high radon levels, taking prompt action is vital to protect your family. Here are some effective steps you can follow:
I. Increase Ventilation
Improving airflow in your home can help reduce radon levels. Simple actions like opening windows, using fans, or enhancing natural ventilation can make a noticeable difference.
II. Seal Cracks and Openings
Radon can enter through cracks in floors, walls, and foundations. Sealing these gaps with proper materials helps keep the gas from entering your home.
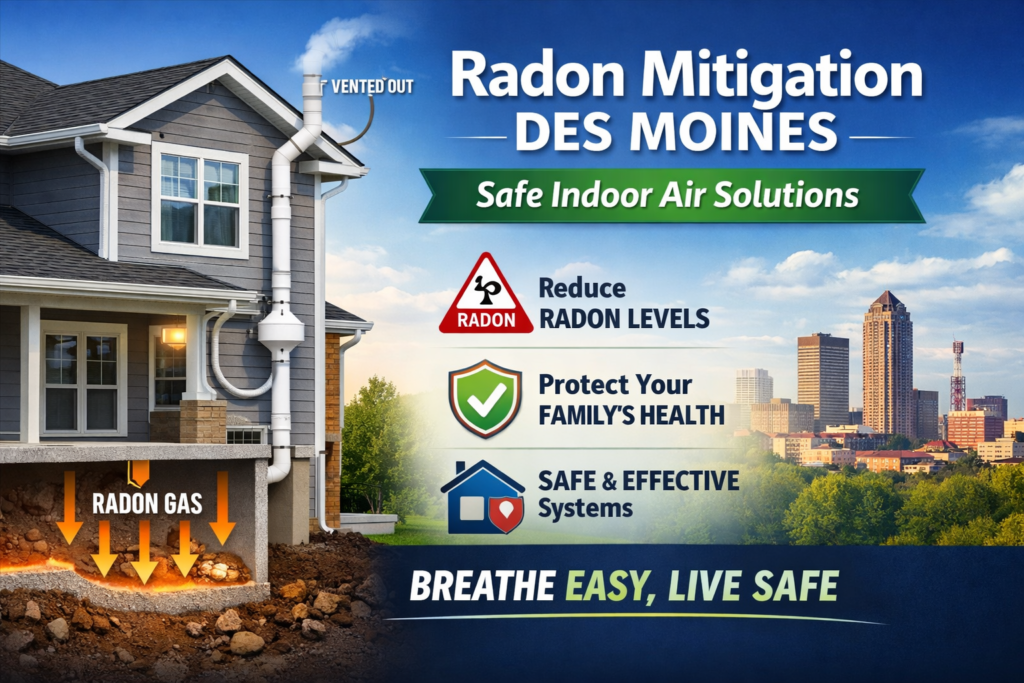
III. Install a Radon Mitigation System
For long-term protection, consider a professional radon mitigation system. Certified specialists can design and install systems that actively lower radon levels, ensuring your home stays safe and healthy.
Choosing a Professional Radon Testing Service
Choosing a qualified radon testing service is key to getting accurate and reliable results. When selecting a provider, consider these factors:
- Certification: Make sure the company is certified by a recognized organization, such as the National Radon Proficiency Program (NRPP). Certification ensures they follow industry standards and best practices.
- Experience: Look for providers with proven experience in both radon testing and mitigation. Experienced professionals can handle different home layouts and address potential challenges effectively.
- References and Reviews: Check customer reviews and ask for references to gauge reliability and quality of service. Feedback from past clients can give you confidence in the company’s professionalism and results.
Conclusion
Testing for radon in your home is an important step toward keeping your living environment safe. By knowing the risks, understanding the types of tests, and taking prompt action if high levels are detected, you can protect your family from the harmful effects of radon exposure. For professional radon testing and mitigation services, consider contacting Des Moines Radon, a trusted provider with certified experts and reliable solutions.