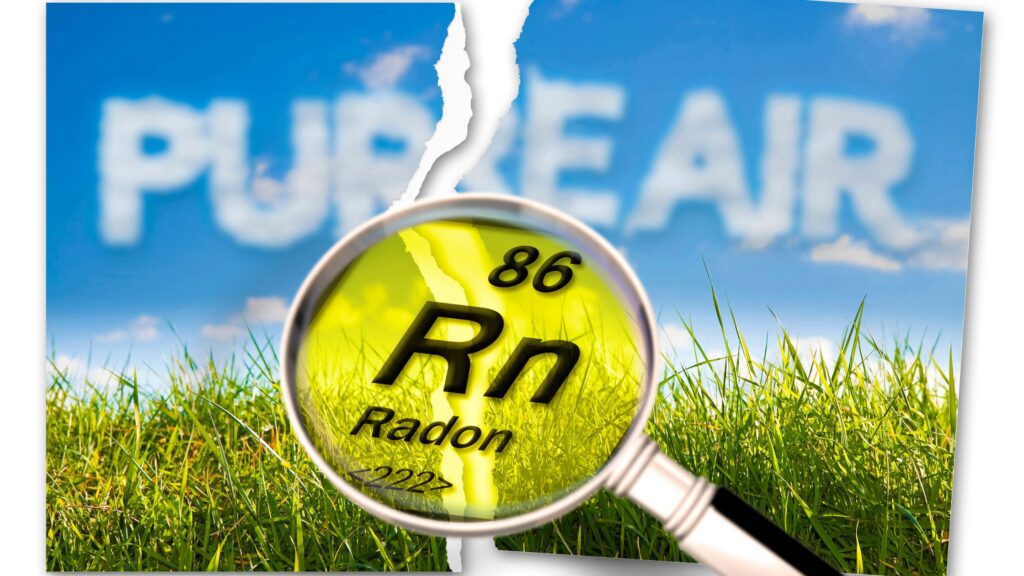
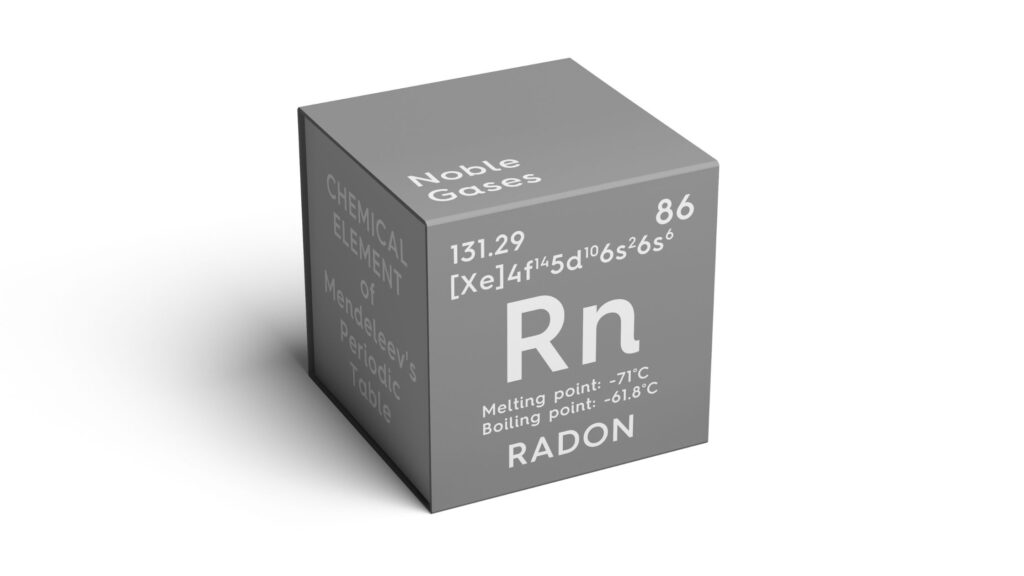
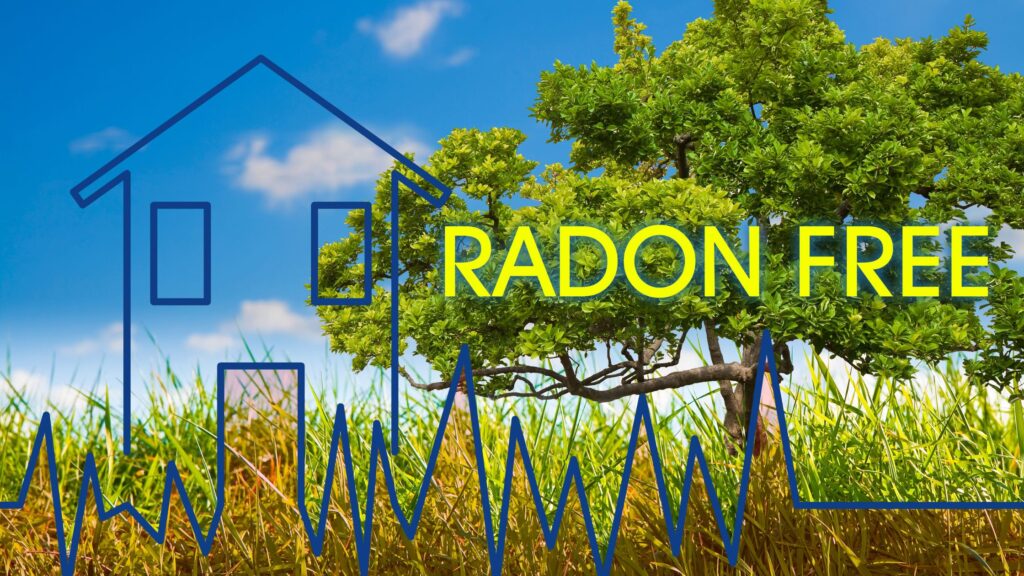
Radon is an invisible, odorless gas that can silently seep into homes and pose severe health risks. Prolonged exposure is linked to lung cancer, making early detection and effective remediation crucial. Fortunately, with the right radon remediation system, homeowners can dramatically reduce indoor radon levels and protect their families.
In this article, we’ll explore what a radon remediation system is, how it works, the benefits of professional installation, and the strategies that ensure long-term success.
What Is a Radon Remediation System?
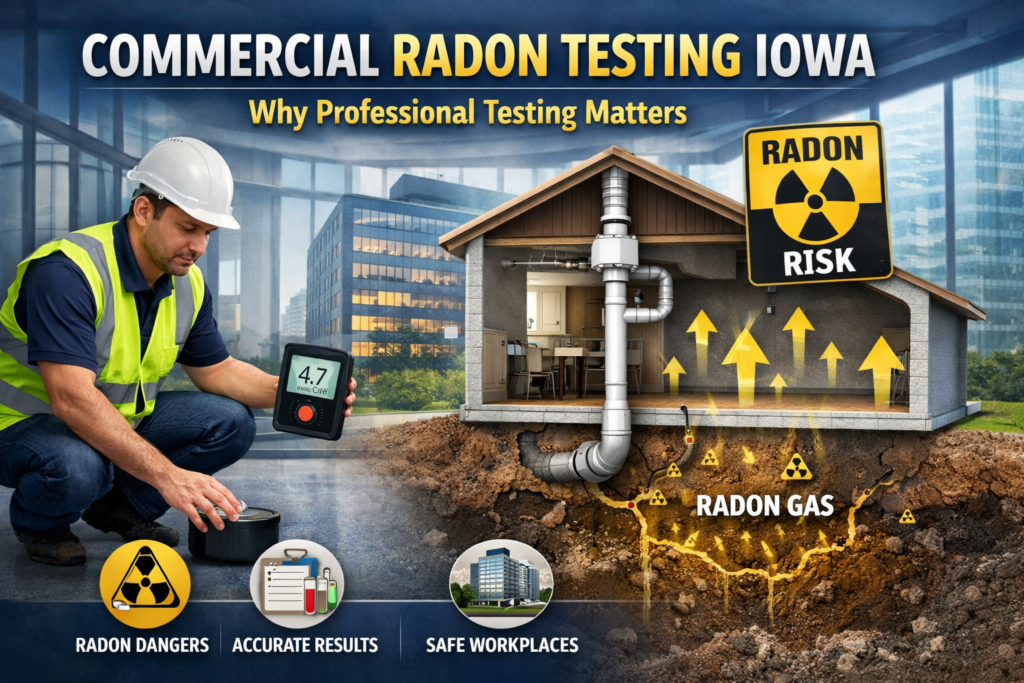
A radon remediation system is a specialized setup designed to lower radon concentrations inside a building. It uses engineered ventilation methods to redirect radon gas from beneath the home’s foundation and safely release it outside.
The most common approach is an Active Soil Depressurization (ASD) system, which employs a vent pipe and a continuously running fan to prevent radon from entering living spaces.
Installing such a system is not a one-size-fits-all process. Each home’s structure, soil composition, and radon test results influence the exact design. Professional radon contractors evaluate these factors to create a tailored solution that meets EPA standards and ensures maximum safety. Learn more about radon mitigation.
How Radon Remediation Works
Radon remediation follows a precise sequence to ensure the gas is effectively removed and prevented from re-entering.
Step 1: Radon Testing
The process begins with accurate testing using short-term or long-term radon detectors. This determines baseline radon levels and identifies areas of highest concentration.
Step 2: System Design
Based on the test results, technicians design a radon remediation system suited to the home’s layout, foundation type, and soil conditions.
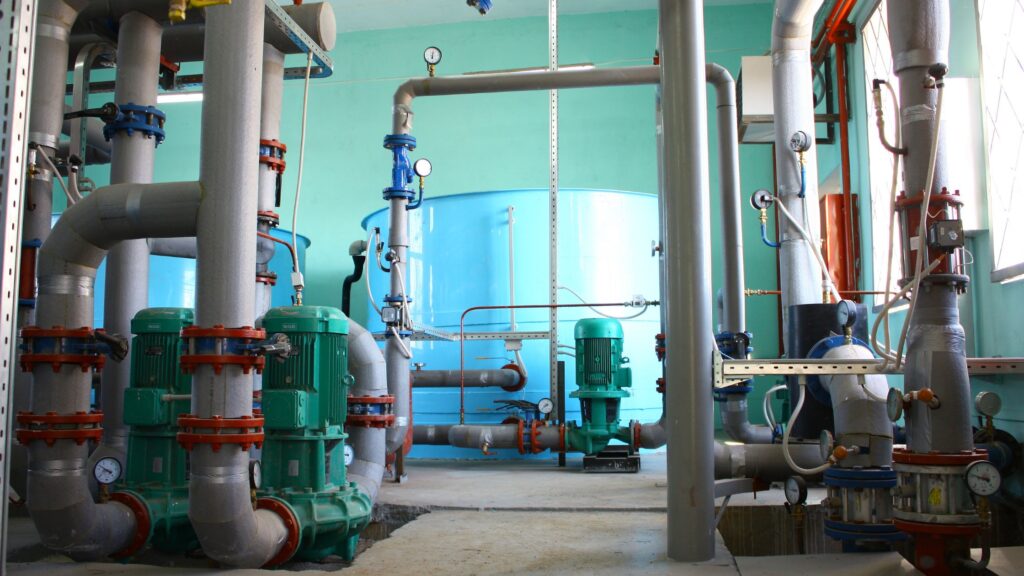
Step 3: Installation
A typical system includes:
- PVC piping to vent radon from under the slab or crawl space
- A high-quality, weatherproof radon fan mounted outside or in the attic
- Sealing of entry points, such as foundation cracks
Step 4: Post-Installation Testing
After setup, another radon test verifies that levels have dropped below the EPA’s recommended action level of 4 pCi/L, ideally reaching 2 pCi/L or less.
Step 5: Continuous Operation
The system runs 24/7, maintaining safe radon levels year-round.
Key Benefits of Installing a Radon Remediation System
Radon mitigation offers several advantages that go beyond safety.
- Reduced Health Risks: Lowering radon levels significantly decreases the risk of lung cancer, protecting every member of the household.
- Peace of Mind: Homeowners can rest assured knowing that harmful gas levels are consistently kept in check.
- Increased Home Value: A professionally installed radon remediation system is an attractive selling point for potential buyers.
- Compliance with Safety Standards: Meeting or exceeding EPA guidelines demonstrates responsible homeownership.
- Energy-Efficient Designs: Modern systems are designed to minimize energy consumption while running continuously.
- Custom Fit for Any Property: Whether for basements, crawl spaces, or slab-on-grade homes, remediation solutions can be adapted to any structure.
Professional Installation and Maintenance Best Practices
Effective radon remediation is best handled by certified professionals who follow industry standards.
A) Why Professional Installation Matters
Certified radon mitigation experts ensure proper fan sizing, optimal vent placement, and airtight sealing. This prevents radon leakage and maintains system efficiency.
B) Regular Maintenance Tips
- Inspect and service the fan annually to maintain performance.
- Check vent pipes for blockages caused by debris, snow, or ice.
- Monitor system indicators to ensure continuous operation.
- Retest radon levels every 2–3 years or after major renovations.
Smart Strategies for Lasting Protection
Beyond installation, certain practices can help maintain safe radon levels for the long term.
- Regular Testing – Even with a remediation system in place, periodic testing ensures the system is functioning optimally.
- Address Structural Changes Promptly – Foundation shifts, basement remodels, or plumbing repairs can create new radon entry points—seal them quickly.
- Integrate with Indoor Air Quality Measures – Pair your radon remediation system with dehumidifiers, air purifiers, or improved ventilation for overall healthier air.
- Educate Household Members – Everyone should understand the importance of keeping the system running and reporting any changes in its performance.
- Plan for Seasonal Variations – Radon levels can fluctuate throughout the year; extra vigilance in winter months is recommended.
- Partner with Trusted Experts – Work with specialists who offer follow-up services, warranties, and transparent performance reports.
Conclusion
A radon remediation system is a crucial investment for any homeowner looking to protect their family’s health and improve property value. By using professional installation, regular maintenance, and smart prevention strategies, it’s possible to maintain consistently safe indoor air. For homeowners in the Des Moines area, DSM Radon offers expert radon testing, customized mitigation solutions, and ongoing support to ensure your home stays protected year-round.
FAQs
1. What is the lifespan of a radon remediation system?
Most systems last over 10 years with proper maintenance, though fans may need replacement sooner.
2. Can I install a radon system myself?
DIY installations are not recommended. Professional setup ensures safety, compliance, and lasting results.
3. How quickly will I see results?
In most cases, radon levels drop to safe limits within 24 hours of system activation.
4. Will the system increase my energy bills?
Modern fans are energy-efficient, typically costing less than $3–$5 per month to operate.