
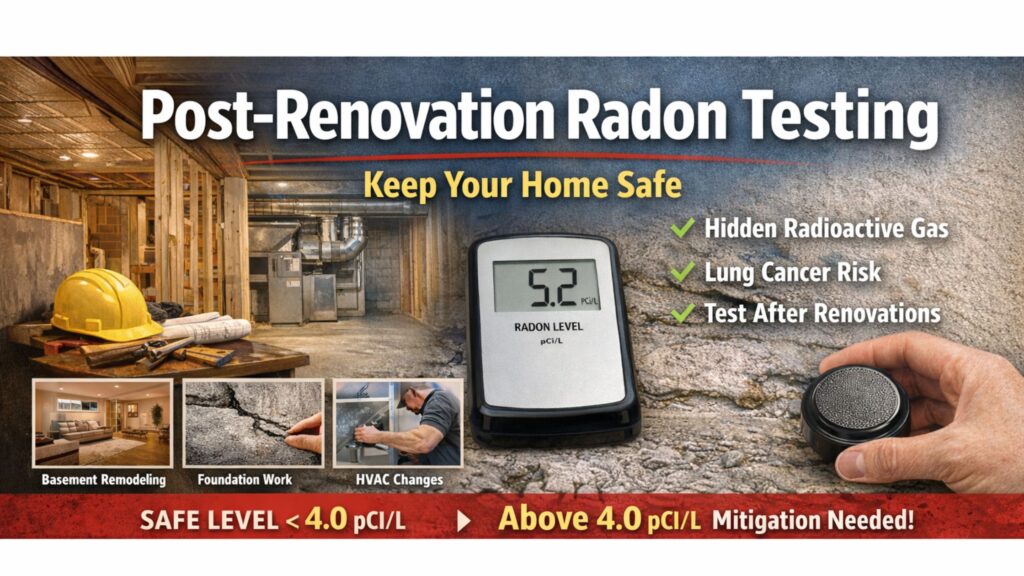
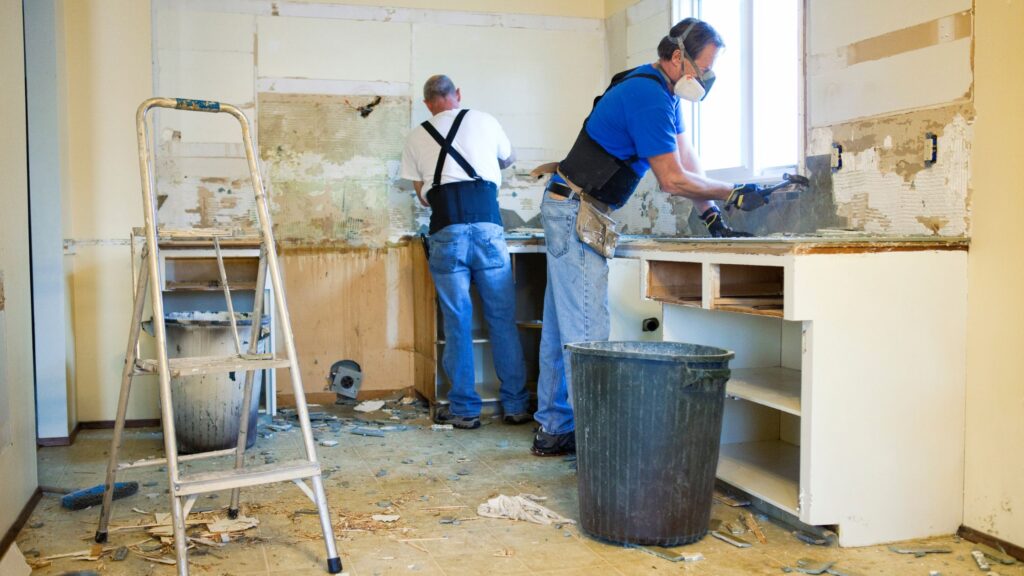
Home renovations can completely transform your living space, but they can also unknowingly affect the air quality in your home. One of the hidden dangers that can arise after remodeling is radon — a radioactive gas that enters your home from the soil beneath your foundation. Radon testing after home renovation is crucial to ensure that this invisible threat hasn’t been worsened by the structural changes made during the renovation process. Understanding why testing is important and how to go about it will help you maintain a safe living environment for you and your family.
What is Radon and Why It’s a Concern
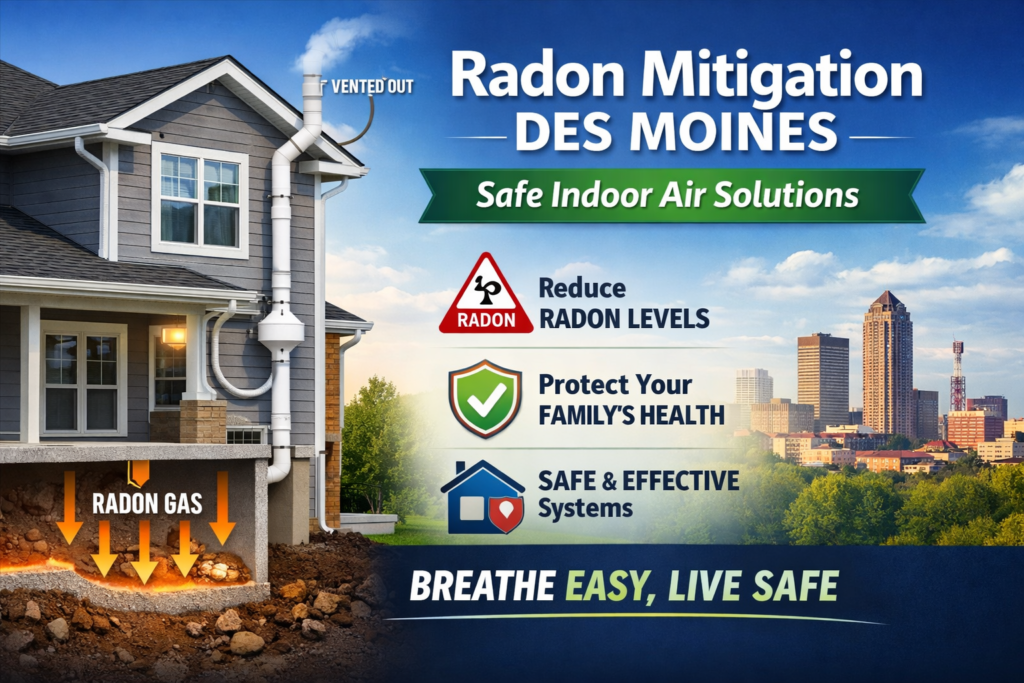
Radon is a radioactive gas that naturally forms from the breakdown of uranium in soil, rock, and water. It can enter homes through cracks in the foundation, gaps around pipes, or any unsealed areas. Since radon is colorless, odorless, and tasteless, it often goes unnoticed but can build up to dangerous levels inside a home.
Long-term exposure to high radon levels is linked to serious health risks, primarily lung cancer. In fact, radon is the second leading cause of lung cancer in the United States, after smoking. Prolonged exposure can significantly increase the risk of developing respiratory diseases, especially in individuals who spend a lot of time indoors. Regular testing and mitigation can reduce these risks, ensuring a safer home environment.
How Home Renovations Can Affect Radon Levels
Home renovations can be exciting, but they often bring unforeseen risks, including the potential for increased radon levels. Understanding how certain changes in your home’s structure can affect radon accumulation is crucial for ensuring your family’s safety.
A) Basement Remodeling
Remodeling or finishing a basement often involves sealing off previously open spaces, which can trap radon gas. As radon naturally rises from the ground, sealing or altering these areas may limit ventilation, causing radon to accumulate. This can lead to higher concentrations of radon in the basement and throughout the home.
B) Foundation Work
Any work done to the foundation of a home, such as adding or repairing cracks, can create new pathways for radon to enter. Since radon seeps through gaps in foundations, any changes to the structure can inadvertently introduce new entry points, raising the potential for increased exposure.
C) HVAC System Modifications
Altering or installing a new HVAC system can disrupt the natural airflow in the home. Changes to ductwork or air vents can create areas where radon accumulates, especially if the system is not designed to handle air circulation properly. Poor ventilation can allow radon to remain trapped indoors.
D) Adding or Closing Rooms
Expanding a home by adding new rooms or closing off existing ones can affect airflow and the natural movement of radon. For instance, sealing off an open space may reduce ventilation in that area, leading to higher radon concentration levels. Changes like these can cause radon to settle in areas that were previously unaffected.
E) Sealing Cracks and Gaps
While sealing cracks and gaps in the foundation can improve energy efficiency, it can also trap radon inside the home. Sealing these areas may prevent radon from escaping, leading to an increase in radon levels. It is important to ensure proper ventilation and test for radon after such modifications.
After any major renovation, it’s essential to test for radon to identify and address any issues early. Taking the proper precautions ensures a healthy and safe living environment for you and your family.
When to Test for Radon After a Renovation
Radon testing after a renovation is crucial to ensure your home remains safe. Here are the key times to test for radon after making changes to your home.
i. After Major Structural Changes: Test after major renovations like foundation work or basement remodeling, as these can disrupt airflow and create radon pathways.
ii. After Sealing Cracks and Gaps: Sealing foundation cracks may trap radon inside, making post-renovation testing essential.
iii. After Adding or Closing Rooms: Changes in room layout can affect air circulation, increasing radon risk, so test after these changes.
iv. If Previous Testing Was Incomplete: If earlier tests missed areas, retest after renovation to ensure accurate results.
v. Once the Home Has Settled: Test 2–3 months after renovation, when the home has settled for the most accurate radon levels.
Testing for radon at the right times ensures your home is safe from radon exposure, especially after major renovations. Learn more about Radon Levels in Newly Built Homes.
Methods for Radon Testing After Renovation
Radon testing after renovation is crucial for ensuring the safety of your home. Here are the different methods you can use to test for radon effectively.
- DIY Radon Kits: Quick and easy tests for short-term radon levels with immediate results.
- Long-Term Testing: Measures radon over 90+ days for a more accurate exposure assessment.
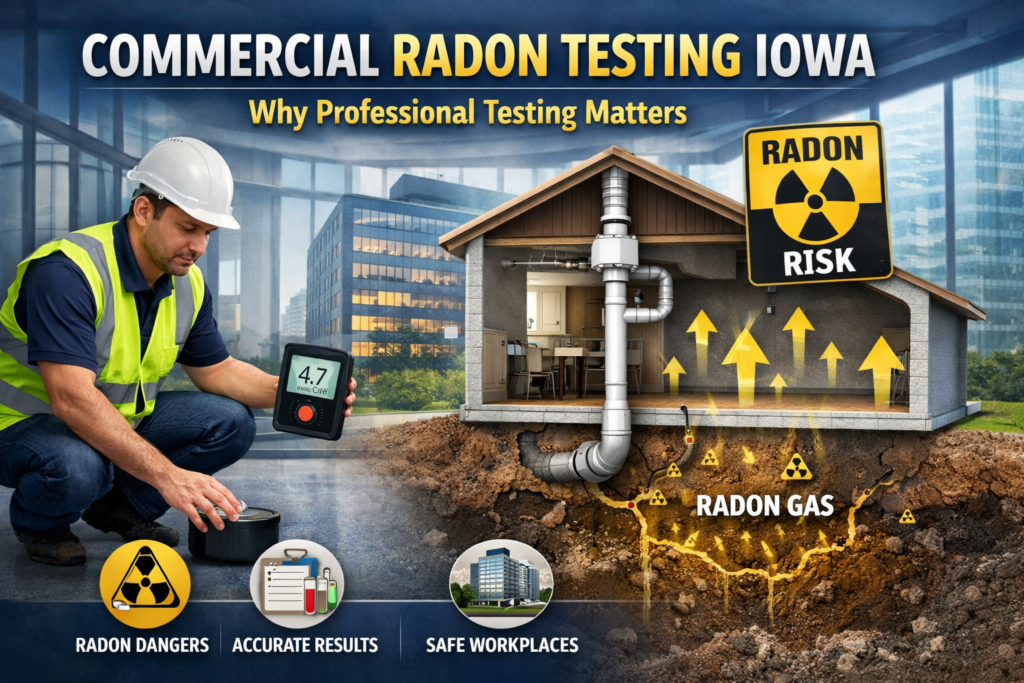
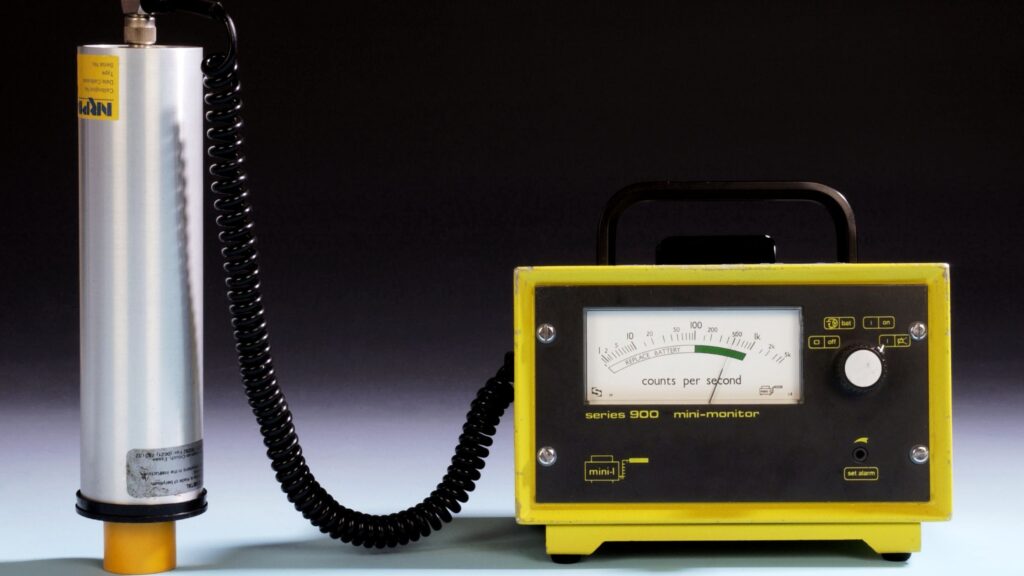
- Professional Testing: Certified experts use advanced tools for precise radon measurements.
- Proper Test Placement: Place detectors in the lowest lived-in area, like the basement, for accuracy.
- Interpreting Results: Levels above 4.0 pCi/L require mitigation to protect health.
By using the right testing methods and understanding the results, you can take the necessary steps to protect your home from radon exposure.
Conclusion
Radon testing after home renovation is an essential step to ensure your home remains safe and healthy. Renovations can unknowingly alter the airflow and foundation of your home, potentially increasing radon exposure. By testing immediately after renovations and following up with regular checks, you can identify and address any issues before they pose a health risk. If you find high radon levels, taking the proper steps to mitigate them is crucial for safeguarding your family’s well-being. For reliable and professional radon testing and mitigation services, DSM Radon is here to provide you with expert solutions to ensure your home is free from harmful radon exposure.