
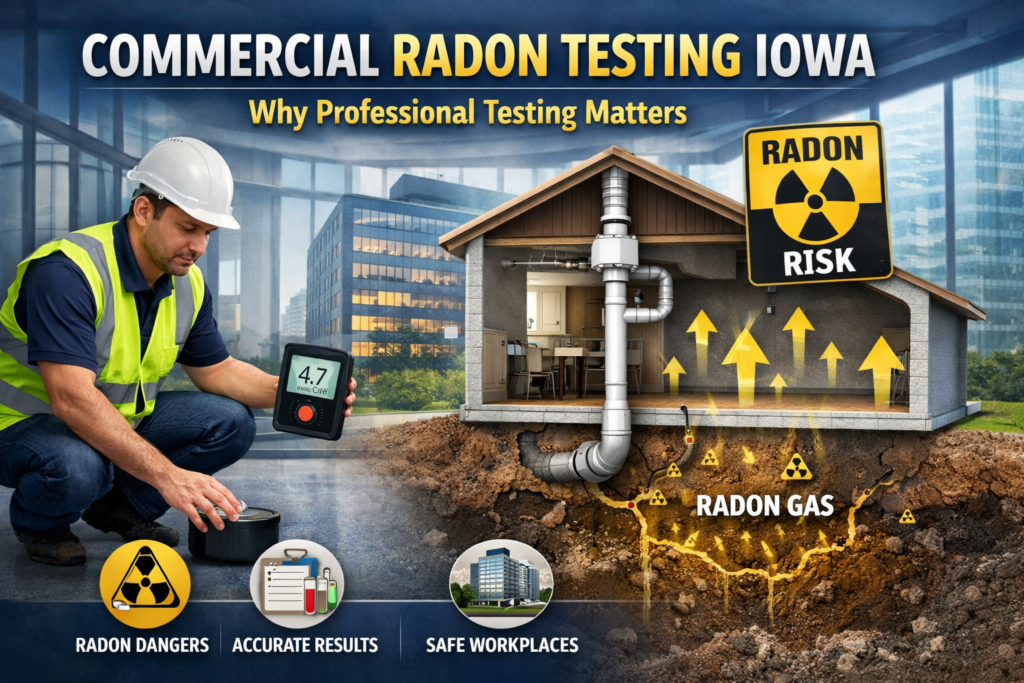
Industrial leaders manage risk through repeatable systems. However, radon often gets missed because it stays invisible as it builds. Therefore, a facility needs a program that treats radon like any other exposure: identify where risk concentrates, measure it correctly, record conditions, and verify improvement after action. When teams follow a structured approach, radon testing for industrial facilities becomes simple to manage and easy to defend.
Additionally, this approach aligns with EHS workflows, supports consistent decision-making across shifts, and reduces confusion when different departments review results. Moreover, clear records help leadership act faster, prioritize mitigation logically, and maintain confidence during audits.
Set Clear Goals Before Testing
A facility gets stronger results when it starts with one clear purpose. Additionally, the goal determines device type, placement, and documentation depth. Choose the primary goal that matches your situation:
- Baseline mapping: You want a first-site picture across departments and floors for clear baseline decisions.
- Occupancy protection: You want to focus on spaces where people stay for long periods regularly.
- Post-change verification: You want to confirm the impact after renovations, HVAC updates, or system changes.
- Risk investigation: You want to explain why one zone keeps reading higher than expected consistently over time.
Moreover, the team should write the goal in one sentence and keep it in the testing file. Consequently, every decision stays consistent.
Build a “Radon Risk Map” Using Building Features
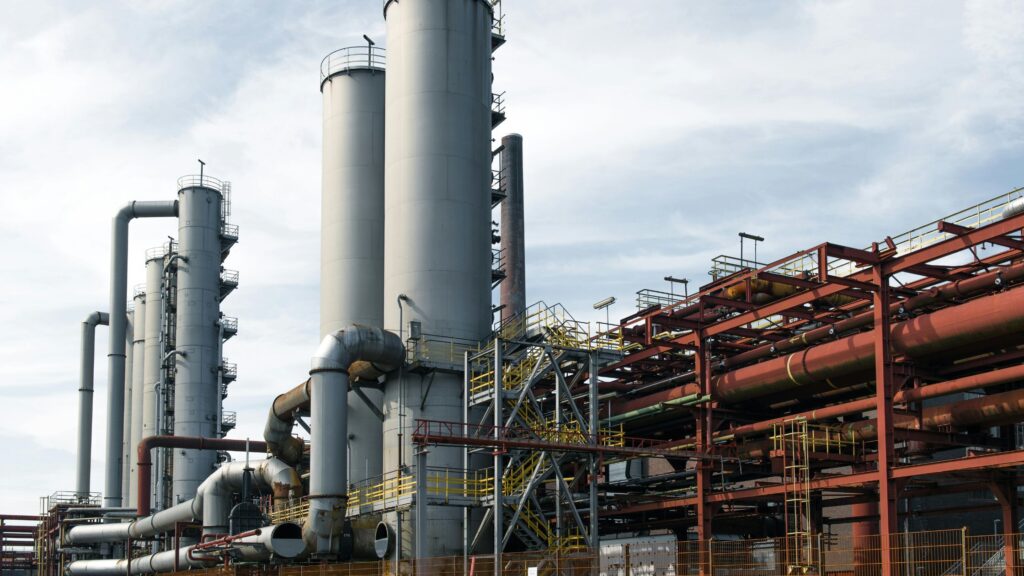
Industrial facilities contain multiple radon entry pathways. Therefore, you should create a risk map using physical features, not guesses. High-priority features to mark:
- Below-grade rooms, tunnels, and sublevels.
- Pits, sumps, elevator shafts, and trenches.
- Expansion joints, slab cracks, and utility penetrations.
- Areas near foundations with frequent negative pressure.
- Spaces near heavy exhaust or process ventilation.
Additionally, you should mark occupancy intensity. A low-level control room deserves higher priority than a rarely entered storage cage. Consequently, the map stays aligned with exposure reality.
Using a Tiered Placement Plan
A tiered plan keeps the program fast and logical. Moreover, it prevents under-testing large footprints.
A) People-First Zones (Highest Priority)
These areas need early, consistent testing because people stay there longer. Control rooms, labs, security desks, maintenance shops, QA rooms, and break areas on the lowest occupied level fit this tier.
B) Pressure-Driven Zones (Next Priority)
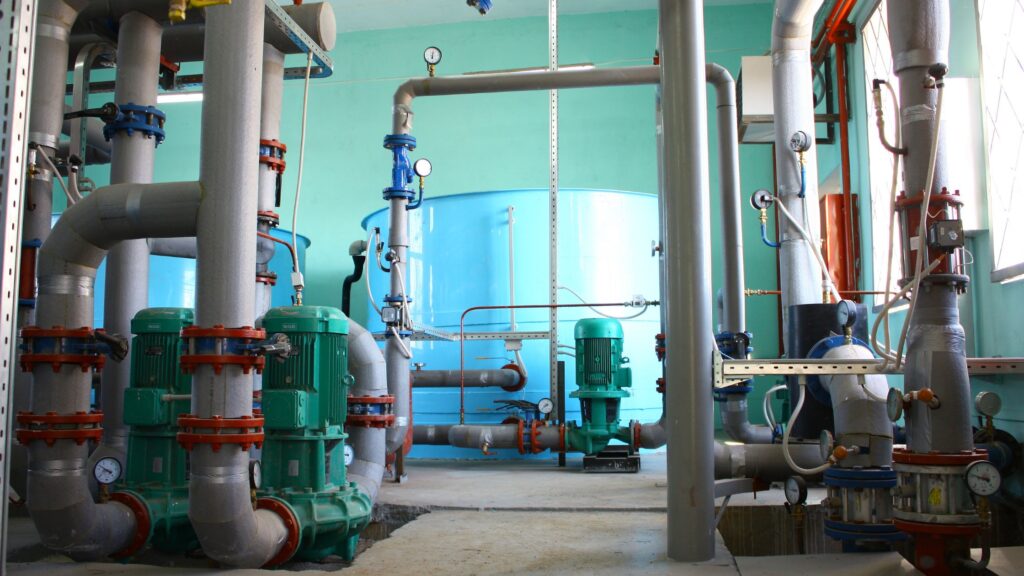
These zones can amplify radon entry due to airflow dynamics. Mechanical rooms, strong exhaust areas, dock-adjacent offices, and high air-change spaces can create pressure swings that pull soil gas indoors.
C) Investigation Zones (Targeted Follow-Up)
These spaces support deeper analysis when readings rise. Areas near recurring high results, structural joints, pits, sumps, trenches, or known slab issues belong in this tier for targeted follow-up decisions.
Additionally, the team should keep placement consistent across retesting cycles. Therefore, trend comparisons stay meaningful.
Choose a Two-Phase Testing Cycle for Speed and Confidence
Choose a two-phase testing cycle that balances speed and confidence because industrial operations need quick answers. However, teams also need confidence across changing seasons and schedules, so this cycle keeps decisions reliable. First, run a screening sweep across the lowest occupied level and critical subareas, and test representative zones across departments. Next, move into confirmation and refinement, so if results rise in specific zones, the team confirms readings, expands to connected spaces, and runs longer tests in high-risk areas. Consequently, the facility avoids overreacting to one data point while moving fast when risk appears. Learn more about Guide to Radon Implications for Public Infrastructure Projects.
Control what You Can and Document What You Can’t
Industrial environments change hourly, so you cannot control everything. However, you can standardize key elements and log the rest. Therefore, documentation becomes your protection.
a) What to Standardize
- Placement height and location rules.
- Device handling and labeling process.
- “Do not move” controls and basic access protection.
- Consistent start/end times for comparable tests.
b) What to Log
- HVAC mode and schedule during the test.
- Shutdowns, maintenance events, and temporary ventilation.
- Major door-open patterns at docks.
- Unusual weather shifts that coincide with testing.
The team should attach a simple one-page log to every test set. Consequently, results stay explainable.
Interpret Results Using a “Response Ladder”
A response ladder keeps actions consistent. Moreover, it prevents panic and delays.
- Baseline band: The team documents results and schedules periodic retesting to confirm stability across seasons and operational changes.
- Watch band: The team expands documentation, adds targeted testing, and reviews pressure drivers and entry features nearby for patterns over time.
- Action band: The team starts confirmation testing quickly and begins mitigation planning. Additionally, the team schedules verification testing within the mitigation plan.
Therefore, the facility always knows what to do next, even when results vary across zones and shifts during peak operations.
Treat Mitigation as a System with Verification Built in
A facility should approach mitigation like any engineered control. Large footprints often need scalable design, routing discipline, and safe integration with operations. Mitigation planning should include:
- A clear scope tied to the exact zones that tested higher.
- A plan for minimizing operational disruption.
- A verification map that repeats the original placement logic.
- A retesting schedule should be followed after any major building or HVAC change.
Additionally, teams should verify improvement with comparable placements. Consequently, the facility can prove the outcome, not just assume it.
Conclusion
Industrial safety improves when teams follow a repeatable, risk-based workflow. Therefore, you should start with a goal, build a facility risk map, test in tiers, document operating conditions, and respond with a clear ladder of actions. Moreover, you should verify results after any mitigation or major building change, because pressure and airflow can shift quickly in large facilities. DSM Radon supports commercial properties with structured testing, professional mitigation planning, and verification workflows that fit real facility operations. When you implement radon testing for industrial facilities with disciplined steps, you protect people and strengthen compliance documentation at the same time.