

Radon is an invisible, radioactive gas that forms naturally in soil and rocks. When it seeps into homes, it becomes a serious health hazard. In fact, radon exposure is the second leading cause of lung cancer in the U.S. Fortunately, there are proven ways to reduce radon levels—and you can even do it yourself. With the right tools and planning, DIY radon mitigation is a cost-effective solution that keeps your home and family safe.
Why Consider DIY Radon Mitigation?
Installing a radon mitigation system can cost upwards of $200 when done professionally. However, if you’re comfortable with basic tools and following safety instructions, you can perform DIY radon mitigation for a fraction of that price—often around $150 or less.
Besides saving money, doing it yourself allows you to fully understand your system, maintain it properly, and make future adjustments if necessary.
Tools and Materials You’ll Need
To get started, gather these essentials:
- Radon mitigation fan
- 3–4″ PVC pipe
- Manometer (pressure gauge)
- PVC cement
- Hydraulic cement
- Piping brackets and insulation
- Backer rod
- Hacksaw and sandpaper
- Jackhammer or masonry bit
- Radon detector (preferably long-term)

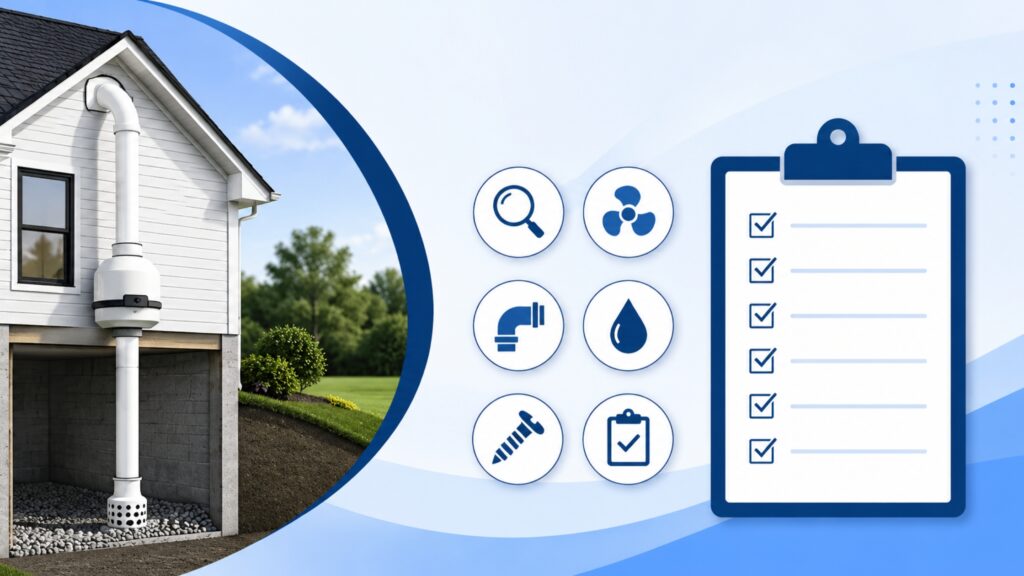
Step-by-Step DIY Radon Mitigation Process
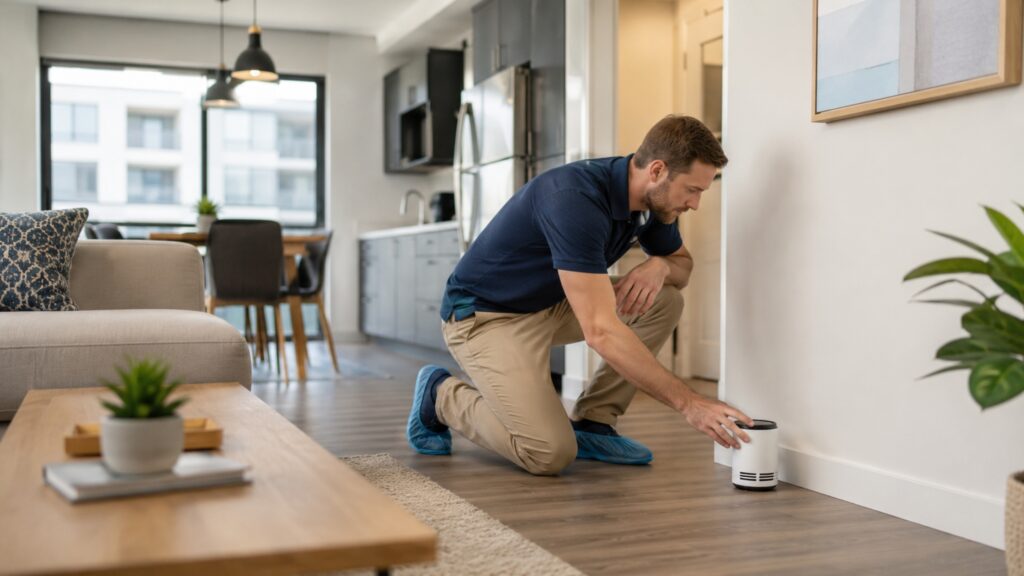
1. Test for Radon
Before beginning any work, you must confirm that radon levels in your home are high. Use a continuous radon monitor or long-term testing device to get accurate readings. These monitors track radon levels over time, helping you identify fluctuations and evaluate your progress after system installation.
2. Evaluate Your Home’s Age and Foundation
Older homes often lack vapor barriers and use dense fill materials beneath the slab. If your foundation is poured over dirt or uneven, you may need to dig a suction pit below the slab to increase airflow. Homes built after the 1970s often have better fill and may require less excavation.
3. Analyze the Structure and Airflow
Identify where radon enters your home—typically through cracks, pipes, or sump pits. You’ll want to install your pipe system to cover the largest potential area for radon entry. Also, seal visible cracks in the foundation using hydraulic cement or expanding foam.
4. Plan the Pipe Path
Decide how your PVC pipe will run from the suction point in the basement to the roofline. Avoid living areas if possible. Many homeowners run the pipe through a garage or unused closet. Make sure the exhaust pipe exits at least 10 feet horizontally from any windows and extends 12 inches above the roof.
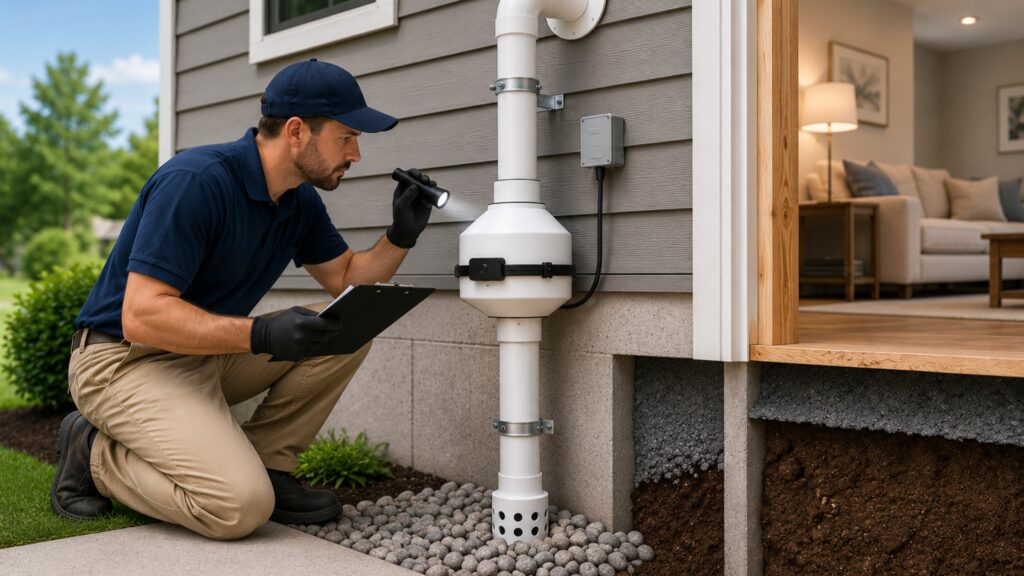
5. Install the Radon Fan
The radon fan should be placed in an attic, garage, or outside—never in a living space. This placement prevents exposure in case of system failure. Match the fan’s intake size with your PVC pipe, and use brackets to secure it in place. Insulate the pipe if it passes through unheated areas to prevent condensation.
6. Drill and Lay the Pipe
Drill a hole in your foundation slightly larger than the pipe’s diameter. Dig down and remove soil or gravel to create a proper suction pit. Run the pipe vertically through walls and out the roof. Dry-fit all parts first to ensure alignment. Then, glue connections using PVC cement for airtight seals.
7. Seal All Gaps
After the pipe is secured, use hydraulic cement and backer rod to seal the foundation opening. Caulk roof penetrations to prevent water intrusion. This step is crucial to maintain the vacuum pressure that the fan generates.
8. Install a Manometer
Mount a manometer (or pressure gauge) on the system’s visible pipe section in the basement. It lets you monitor whether your fan is creating the correct pressure. If the fluid levels in the gauge are uneven, the system is working. If they’re equal, you may have a problem.
9. Retest Your Home
Once your DIY radon mitigation system is running, monitor radon levels again using your detector. Levels should drop below 4.0 pCi/L within 24 to 48 hours. If not, you may need to add another suction point or upgrade the fan.
Should You DIY or Hire a Pro?
While DIY radon mitigation works well for handy homeowners, it’s not for everyone. If drilling into concrete, routing pipes, or handling electric fans makes you uncomfortable, consider hiring radon mitigation professionals. Professionals ensure the system meets local codes and often provide warranties.
Still, for those confident in their skills, DIY can be a rewarding and money-saving experience.

Final Thoughts
DIY radon mitigation offers an affordable way to tackle a potentially deadly issue in your home. By following each step carefully, sealing every crack, and using quality tools, you can protect your family while saving hundreds of dollars.
Radon won’t wait—and neither should you. Start your DIY system today or get expert help at DSM Radon.
Frequently Asked Questions
1. Can I do my own radon mitigation system?
Yes, DIY radon mitigation is possible with the right tools and preparation. However, it requires knowledge of plumbing, sealing techniques, and proper airflow management.
2. What’s the best way to reduce radon quickly?
Installing a radon mitigation system with a fan and sealed piping is the fastest and most reliable method. Sealing cracks alone is rarely enough to significantly reduce radon levels.
3. How long do radon mitigation systems last?
Most systems last 10+ years with minimal maintenance. The fan, however, may need replacement every 5–7 years. Regular testing for radon is key to ensure the system is functioning.
4. Is DIY radon mitigation safe for older homes?
It can be, but older homes may require more sealing, additional suction points, or creative pipe routing due to foundation complexities and crawl spaces.