
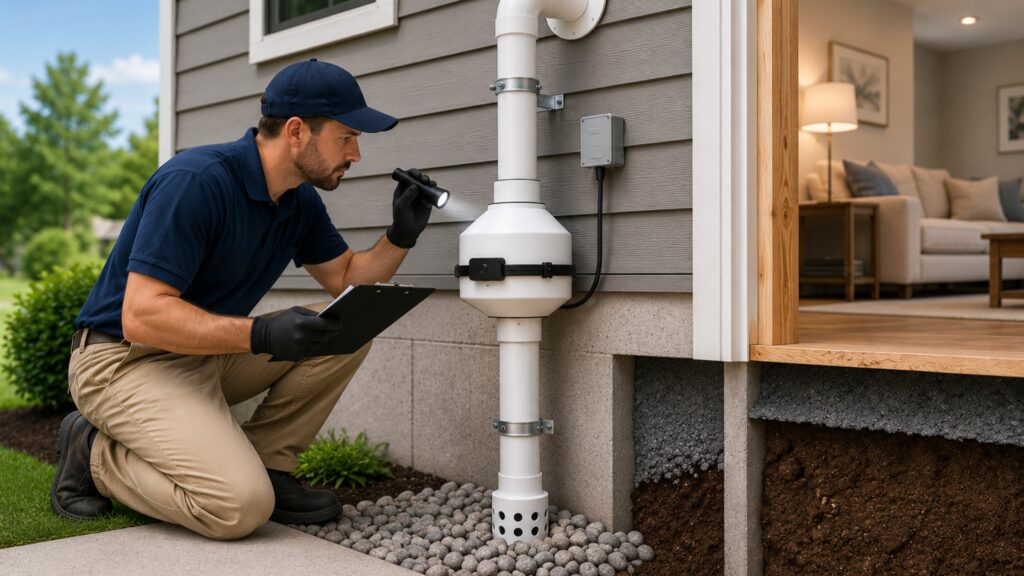

Radon is a hazardous gas that can infiltrate homes and commercial buildings through the soil. Since prolonged exposure to radon can pose significant health risks, an effective radon mitigation system is essential. One of the most critical components of such a system is the pipe and fittings for the radon mitigation system, which ensure the efficient removal of radon gas.
This article explores the key components, the best materials, and how to choose the right pipe and fittings for maximum effectiveness.
Key Components of a Radon Mitigation System
A radon mitigation system consists of several vital components that work together to reduce radon levels in a building. The most crucial elements include:
- Radon Fan
A radon mitigation system relies on a powerful fan to create negative pressure, drawing radon from beneath the foundation and venting it outside. You must properly match the radon fan with the piping system to maintain adequate airflow and efficiency.
- Schedule 40 PVC Pipe
The primary piping used in radon mitigation is Schedule 40 PVC pipe. People prefer this type of pipe for its durability, resistance to cracking, and ability to handle pressure variations. Proper installation maintains an airtight system and safely vents radon gas outside.
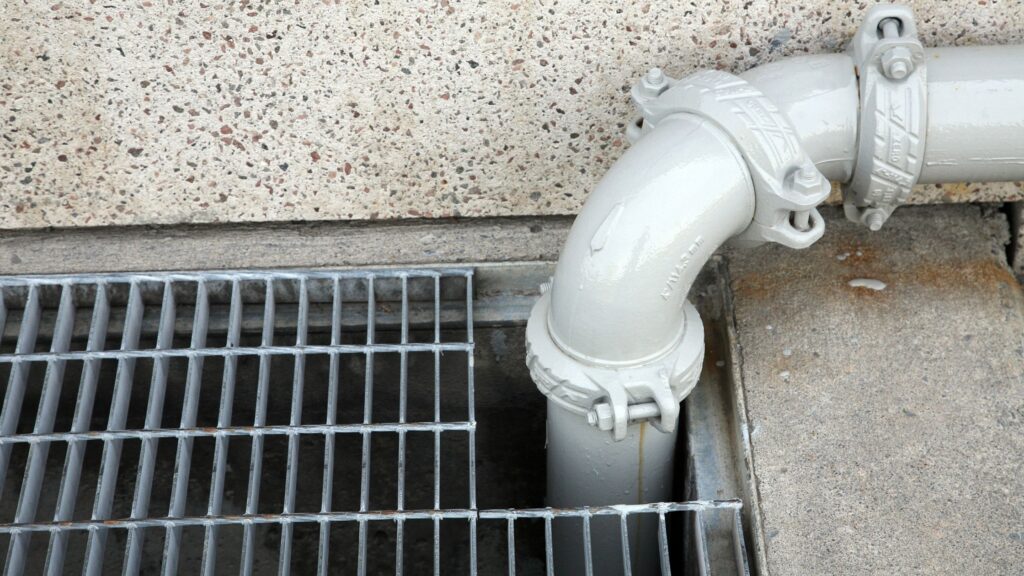
- Schedule 40 PVC Pipe Fittings
Fittings connect pipe sections and adjust the system’s direction. Common pipe fittings for radon mitigation systems include elbows, which change the direction of airflow; couplings, which securely connect two sections of pipe; and adapters, which transition between different pipe sizes or materials.
- Manometer Gauge
A manometer is a U-shaped gauge that measures pressure within the radon mitigation system. This tool helps homeowners and professionals monitor whether the system is functioning correctly.
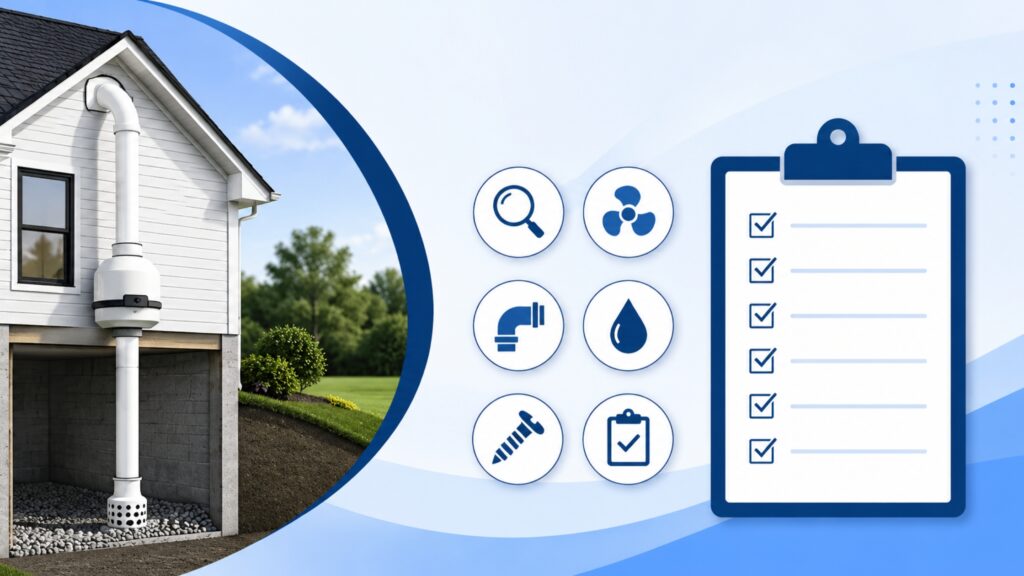
Best Practices for Choosing Pipe and Fittings
Selecting the right pipe and fittings for the radon mitigation system is crucial for ensuring longevity and efficiency. Here are some key factors to consider:
1. Material Selection
While Schedule 40 PVC is the industry standard, other materials like ABS plastic are sometimes used. However, PVC is preferred due to its non-corrosive properties and ease of installation.
2. Proper Sizing
Radon pipes typically come in 3-inch or 4-inch diameters. The choice depends on the size of the system and the amount of radon being mitigated. A larger-diameter pipe allows for greater airflow and is recommended for systems with high radon levels.
3. Sealing and Airflow Considerations
Using solvent-welded joints ensures an airtight connection between pipes and fittings. Any leaks in the system can reduce its effectiveness, allowing radon gas to escape into living spaces.
4. Outdoor Installation Considerations
For outdoor radon mitigation systems, using weather-resistant couplings and supports is essential. Temperature fluctuations can cause expansion and contraction in the pipes, which may loosen fittings if not secured properly.
Installation Tips for Maximum Efficiency
Proper installation of radon mitigation pipes and fittings ensures the system operates at peak performance. Follow these best practices:
- Maintain a vertical pipe run:
This reduces resistance and improves airflow.
- Secure pipes with clamps:
Use pipe clamps or brackets to prevent movement and vibrations.
- Angle pipes for water drainage:
It’s essential to prevent condensation buildup, ensure pipes are sloped slightly downward where necessary.
- Use insulated pipes in cold climates:
This helps prevent freezing and condensation issues.
- Exhaust at least 12 inches above the roofline:
This prevents radon from re-entering the building.
Additional Considerations for Effective Radon Mitigation
Beyond selecting the right pipes and fittings, it is essential to conduct regular maintenance on the radon mitigation system. Periodically inspect the system for leaks, ensure that the vent pipe remains unobstructed, and replace any worn-out fittings. Homeowners should also test radon levels annually to confirm that the system is functioning effectively.
Conclusion
A properly designed radon mitigation system relies on high-quality pipes and fittings to effectively remove radon from a building. By using Schedule 40 PVC pipes, durable , and a secure installation process, homeowners can ensure a safe and long-lasting system. Additionally, performing routine inspections and choosing weather-resistant materials can enhance the system’s durability.
To explore high-quality radon mitigation products, visit DSM Radon.

FAQs
1. Why is Schedule 40 PVC the best choice for radon mitigation systems?
Schedule 40 PVC is preferred due to its durability, resistance to corrosion, and ability to maintain an airtight seal, ensuring long-term effectiveness.
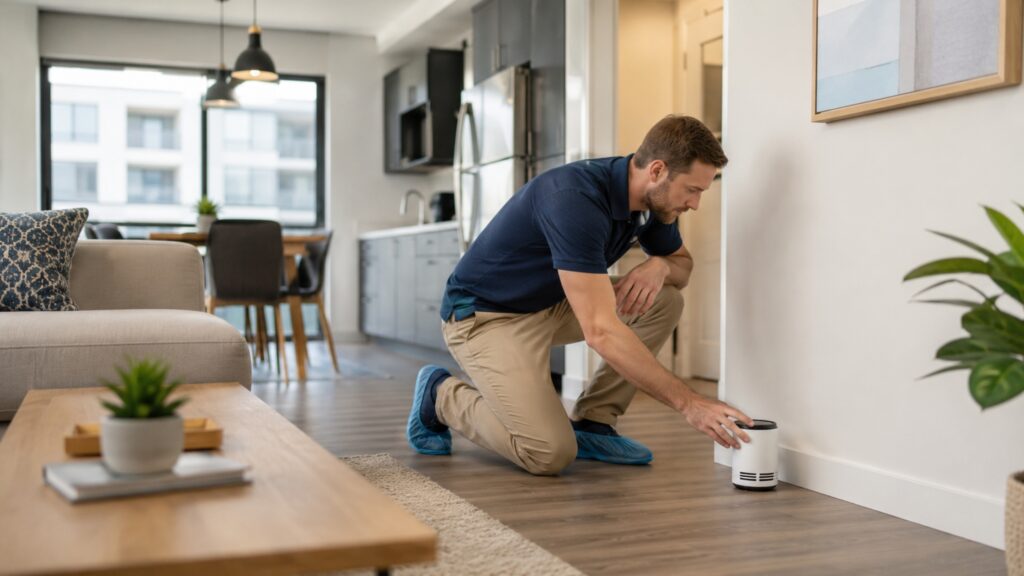
2. How often should I check my radon mitigation system?
We recommended to check the manometer reading at least once a month and conduct a radon test annually to ensure the system is functioning correctly.
3. Can I install a radon mitigation system myself?
While DIY installation is possible, hiring a certified radon mitigation specialist is advisable to ensure proper design, installation, and compliance with local regulations.
4. Where should the radon vent pipe be placed?
The vent pipe should exit the roof or the side of the building at least 12 inches above the roofline to prevent radon from re-entering through windows or vents.