
Radon is a naturally occurring gas that is colorless, odorless, and tasteless. It can seep into homes through cracks in foundations or gaps around windows and doors. Prolonged exposure to radon has been linked to serious health problems, including lung cancer. This is why radon mitigation system installation is a crucial step for homeowners, especially in areas where radon levels are high.
In this guide, we’ll explore why radon mitigation is necessary, how the installation process works, and what to expect before, during, and after installation.

What is a Radon Mitigation System?
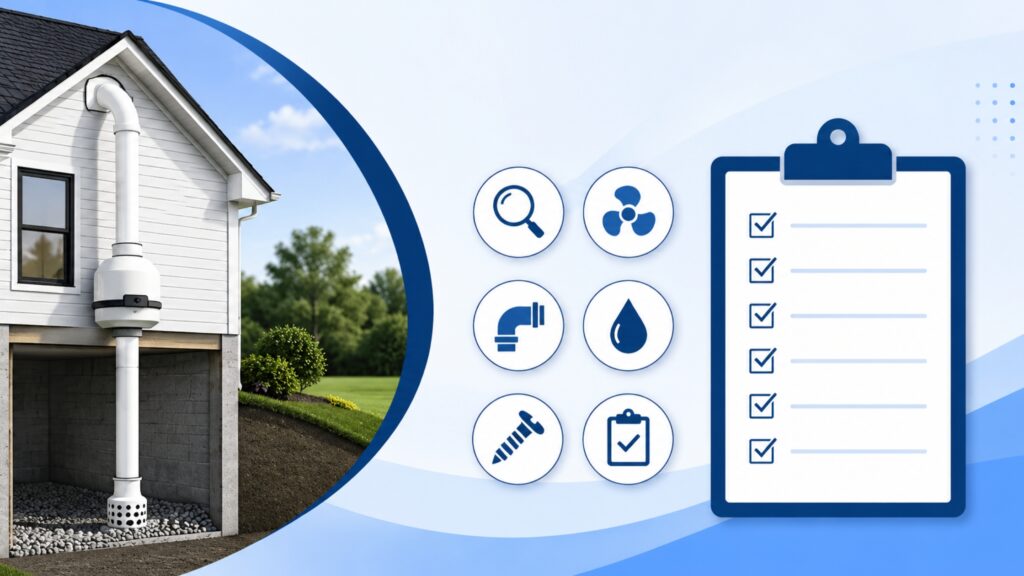
A radon mitigation system is a solution designed to reduce the concentration of radon gas in a home. The system works by venting radon gas outside the home, preventing it from accumulating in enclosed spaces where it can pose a risk to occupants. The most common type of mitigation system involves a fan and a series of pipes that draw radon from beneath the house and vent it safely above the roofline.
These systems are essential for ensuring the safety of your home and family. If you live in an area with elevated radon levels, take a proactive step to protect your health by installing a radon mitigation system—it’s more than just a recommendation.
Why is Radon Mitigation Important?
The importance of radon mitigation system installation cannot be overstated. According to the U.S. According to the Environmental Protection Agency (EPA), radon is the second leading cause of lung cancer, following smoking. In fact, radon exposure is responsible for approximately 21,000 lung cancer deaths each year in the United States alone.
Radon enters the home from the ground, and once inside, it can accumulate to dangerous levels if not properly ventilated. This is why radon mitigation matters most for homes built on soil with high radon levels. Radon can impact homes of any age or type, and new homes face the same risk. That’s why every homeowner should take mitigation seriously, no matter when the home was built.
How Does Radon Mitigation System Installation Work?
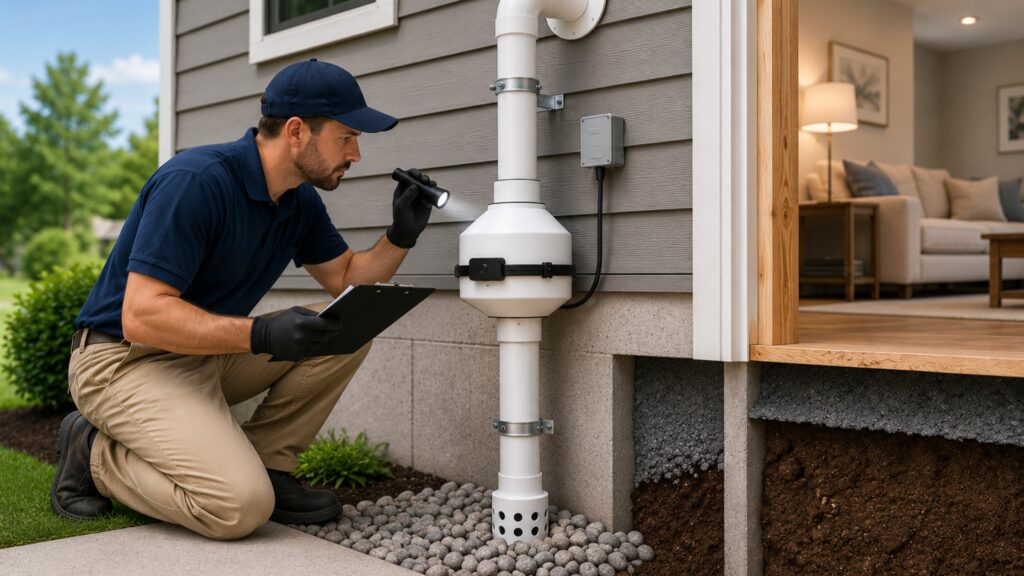
The installation of a radon mitigation system is a job that requires the expertise of a certified professional. Here’s a breakdown of the typical installation process:
- Initial Assessment:
The initial step involves conducting a comprehensive assessment of your home. A professional radon mitigation specialist will test the radon levels inside your home using radon detection devices. If the radon concentration is found to be above the EPA’s action level of 4 pCi/L (picocuries per liter), installation will be necessary.
- Planning the System Layout:
Based on the layout of your home, the technician will plan where to place the system.The system typically uses a sub-slab depressurization method. Installers place pipes beneath the foundation and connect a fan to draw radon gas out of the home.
- Installation Process:
The installation process involves drilling holes in the foundation (or basement floor) to create access points for the system. The installer sets up the radon mitigation system by adding pipes, a fan, and other components to create an efficient airflow that vents radon gas safely outside.
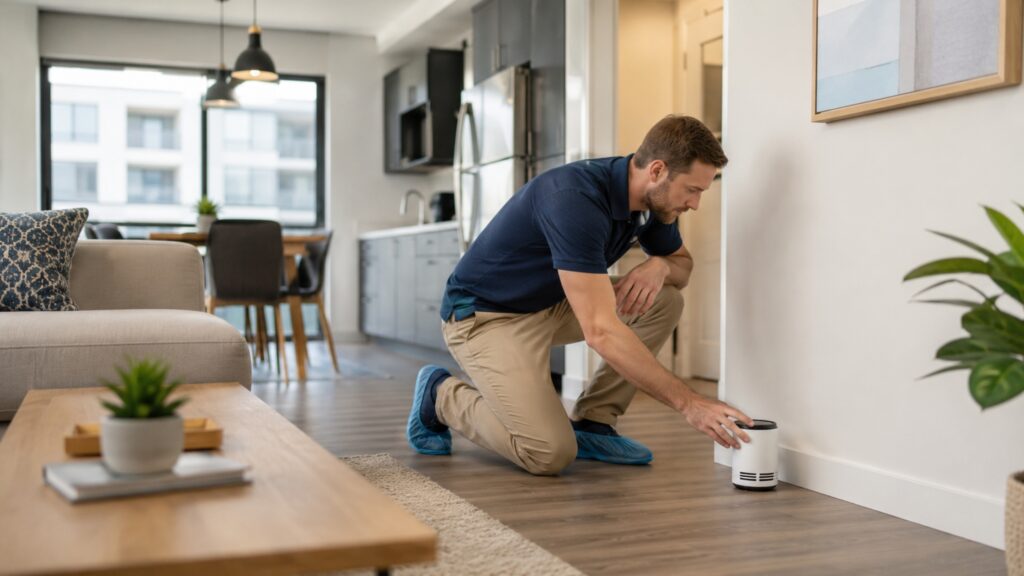
- System Testing:
After the system is installed, the technician will perform additional tests to ensure that it’s effectively reducing radon levels. If the radon levels are still too high, the technician will make adjustments to the system.
- Final Inspection:
Once the system works properly, inspectors conduct a final check to ensure everything is in place and that the system vents radon safely outside the home.

Benefits of Radon Mitigation System Installation
- Health and Safety:
The primary benefit of installing a radon mitigation system is reducing the risk of exposure to radon, thus lowering the likelihood of lung cancer and other health issues.
- Increased Home Value:
Homes that have a radon mitigation system often sell for a higher value because potential buyers see them as safer and more desirable.
- Peace of Mind:
Installing a radon mitigation system provides peace of mind, knowing that you’ve taken steps to protect yourself and your family from a harmful environmental hazard.
- Cost-Effectiveness:
While the initial cost of radon mitigation system installation may seem like an investment, it is far less expensive than dealing with the health costs of radon exposure. Moreover, the system typically requires minimal maintenance after installation.
Maintenance and Aftercare
After installing a radon mitigation system, homeowners must perform regular maintenance to keep it working effectively. Inspect the fan and piping periodically to check for blockages or malfunctions. If you notice any unusual sounds or suspect that the system is not functioning as it should, you should contact a professional to inspect and maintain the system.
Cost of Radon Mitigation System Installation
The cost of radon mitigation system installation varies depending on several factors, including the size of the home, the complexity of the installation, and the region where you live. On average, you can expect to pay between $500 and $1,500 for a typical radon mitigation system installation. While this might seem like a significant investment, it is relatively inexpensive when considering the potential health risks and long-term benefits of protecting your home and family.
So, Why Choose Professional Installation?
While DIY kits for radon testing are available, the installation of a radon mitigation system requires professional expertise. Certified radon mitigation specialists ensure that the system is installed correctly, adhering to local codes and regulations. Additionally, a professional installation guarantees that the system will function as efficiently as possible, providing long-term protection against radon exposure.
Conclusion
In conclusion, radon mitigation system installation is a critical investment for homeowners who want to protect their families from the dangers of radon exposure. It’s a straightforward process when carried out by a professional, and the benefits far outweigh the costs.
For homeowners in need of reliable and expert radon mitigation services, consider visiting DSM Radon to learn more about how they can help you safeguard your home.

Frequently Asked Questions (FAQ)
1. How much time does it typically take to install a radon mitigation system?
The installation process usually takes one to two days, depending on how complex the home’s layout is and which system the installer uses.
2. Is it possible to install a radon mitigation system myself?
While you can use DIY radon testing kits, experts strongly recommend that a professional install the mitigation system to ensure it works correctly and meets local regulations.
3. Will a radon mitigation system affect my home’s aesthetic?
Radon mitigation systems stay out of sight by design. Installers usually place the pipes in basements or crawl spaces and mount the venting fan discreetly on the home’s exterior.